How to Create Folders in Gmail: Step-by-Step Guide


Jenny Keohane
Contents
- How to Create a Folder in Gmail on Desktop
- How to Create a Folder in Gmail on Mobile
- How to Edit or Delete a Label in Gmail
- How to Label a Message in Your Inbox
- How to Label a Message You’re Writing
- How to Automatically Label an Email Based on Search Criteria
- How to Manage Your Gmail Labels With Ease
- 5 Folder Ideas to Keep Your Inbox Up-To-Date
- Bonus: How to Create Folders for Future Emails
When you don’t know how to create folders in Gmail, your inbox controls you.
Each time a new message arrives, you’re more disorganized than ever.
Gmail folders help you streamline your inbox and boost email productivity.
It’s time to take control and change your inbox from a cluttered mess to a picture of success.
Below are simple tricks for organizing your inbox. We look at how to create folders in Gmail on desktop and mobile, how to edit, delete, and manage folders, how to automatically label emails, and more.
How to Create a Folder in Gmail on Desktop
First thing’s first: In Gmail, folders are referred to as labels.
Now, this part’s easy.
1. Open Gmail in your browser.
2. In the left-hand menu of your inbox, click More.
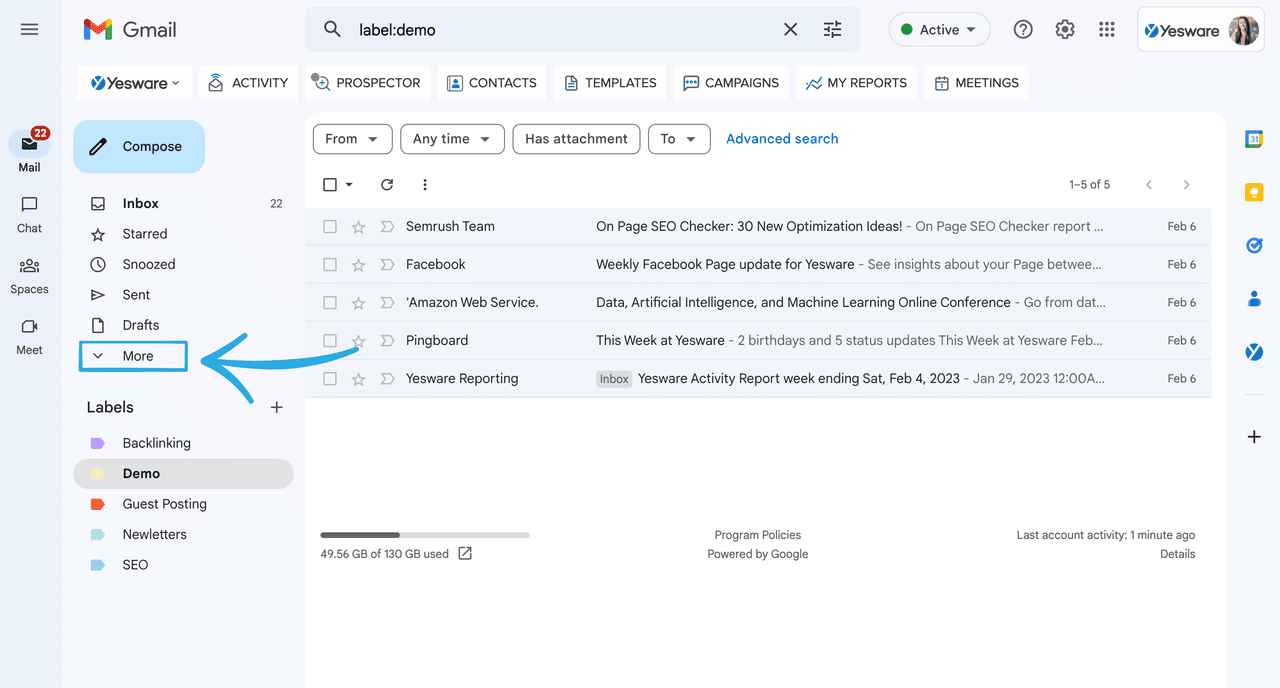
3. Select Create new label.

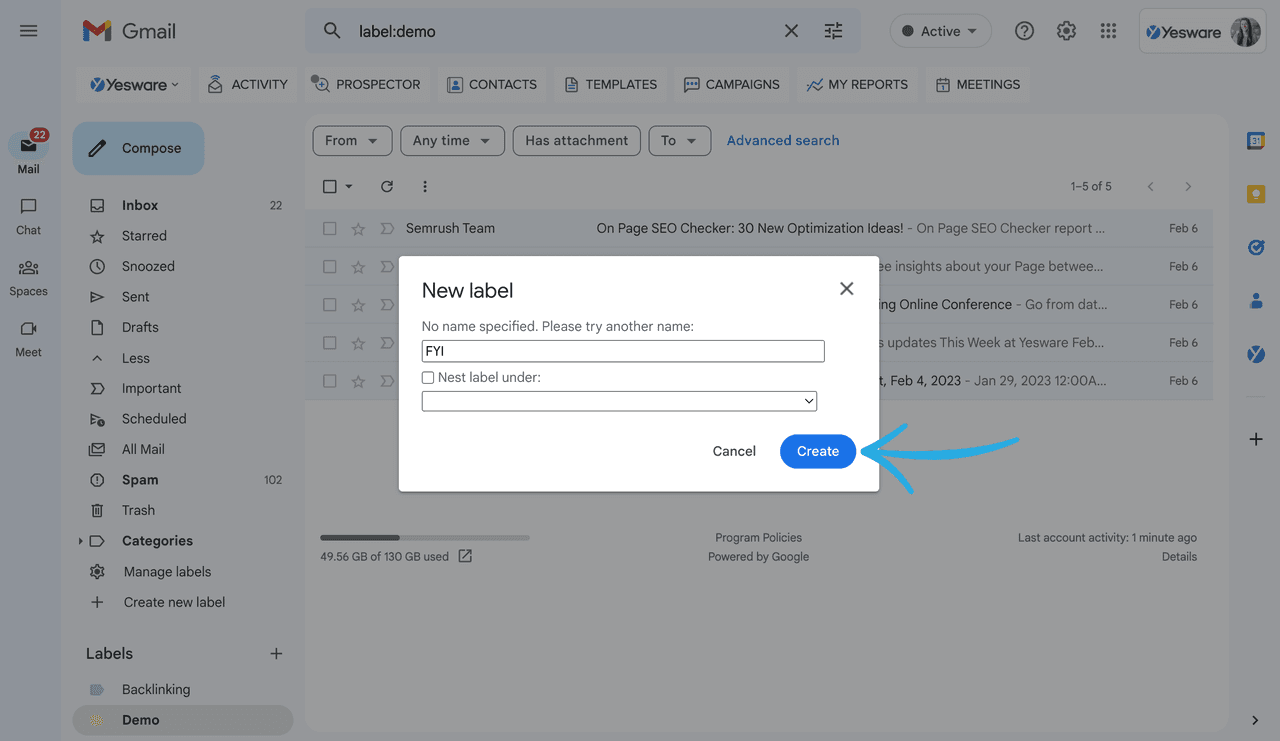
4. In the pop-up window, name your label.
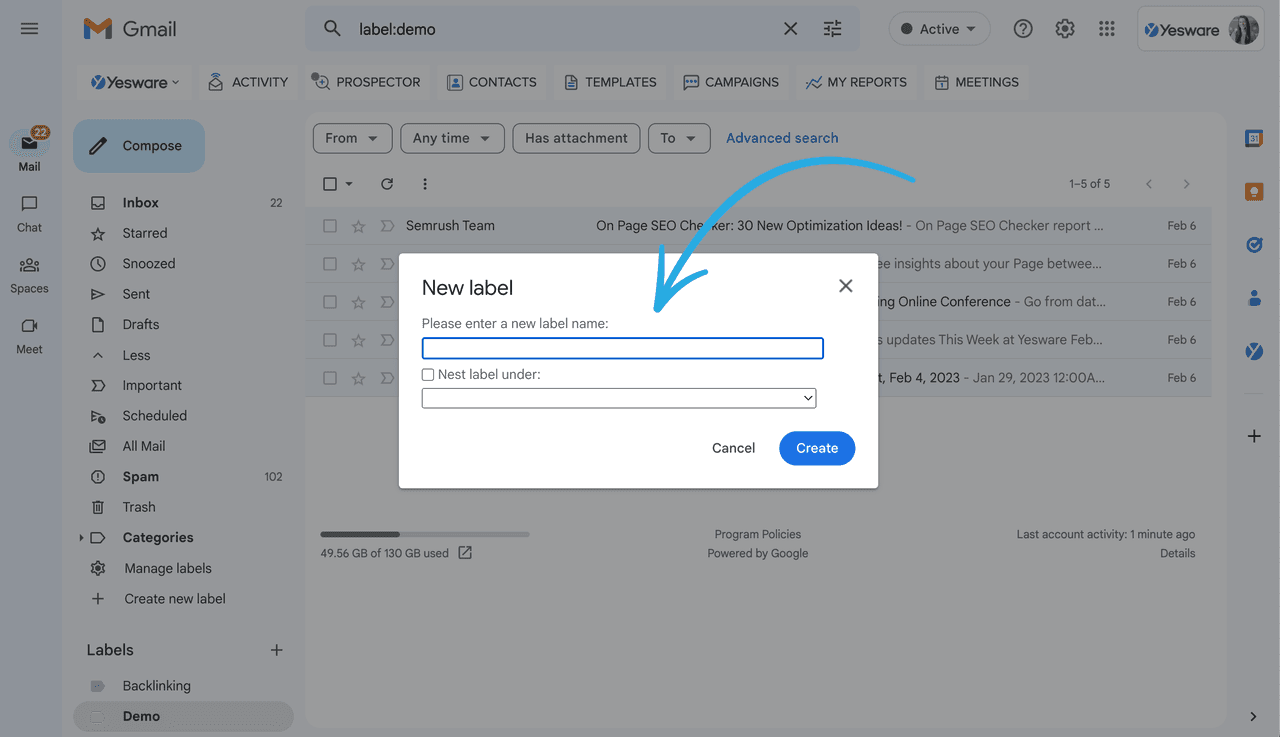
5. Click Create.
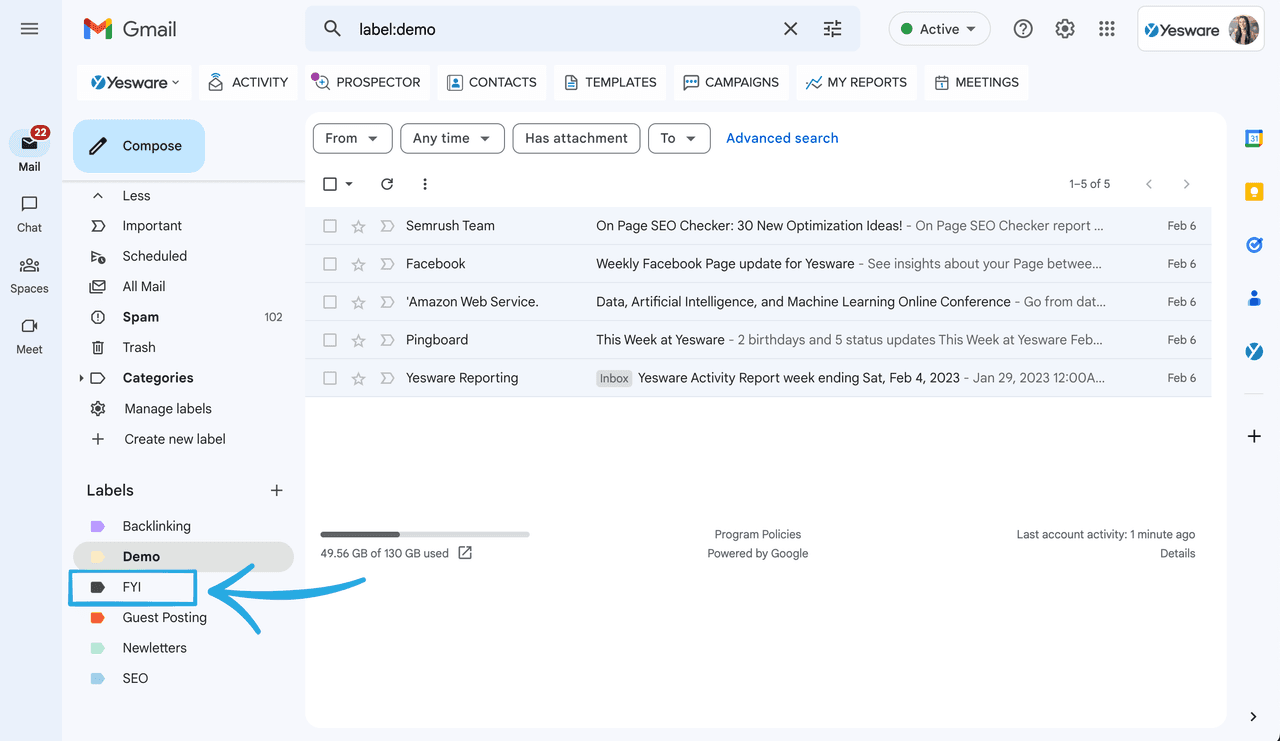
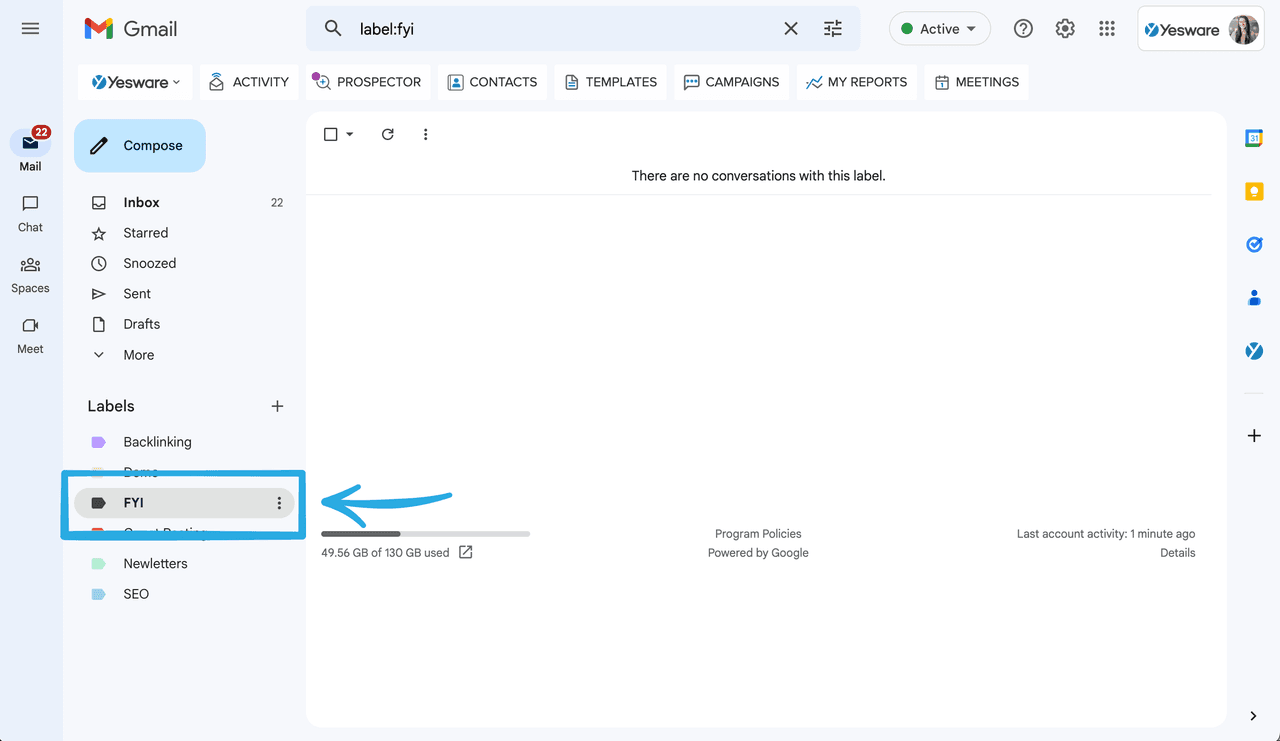
Just like that. Your new folder will now live under Labels in your inbox (as seen below).
Another Way to Create Folders in Gmail
There’s another way to do this. You can also create labels by going through Settings.
1. Click the Settings icon and click See all settings.
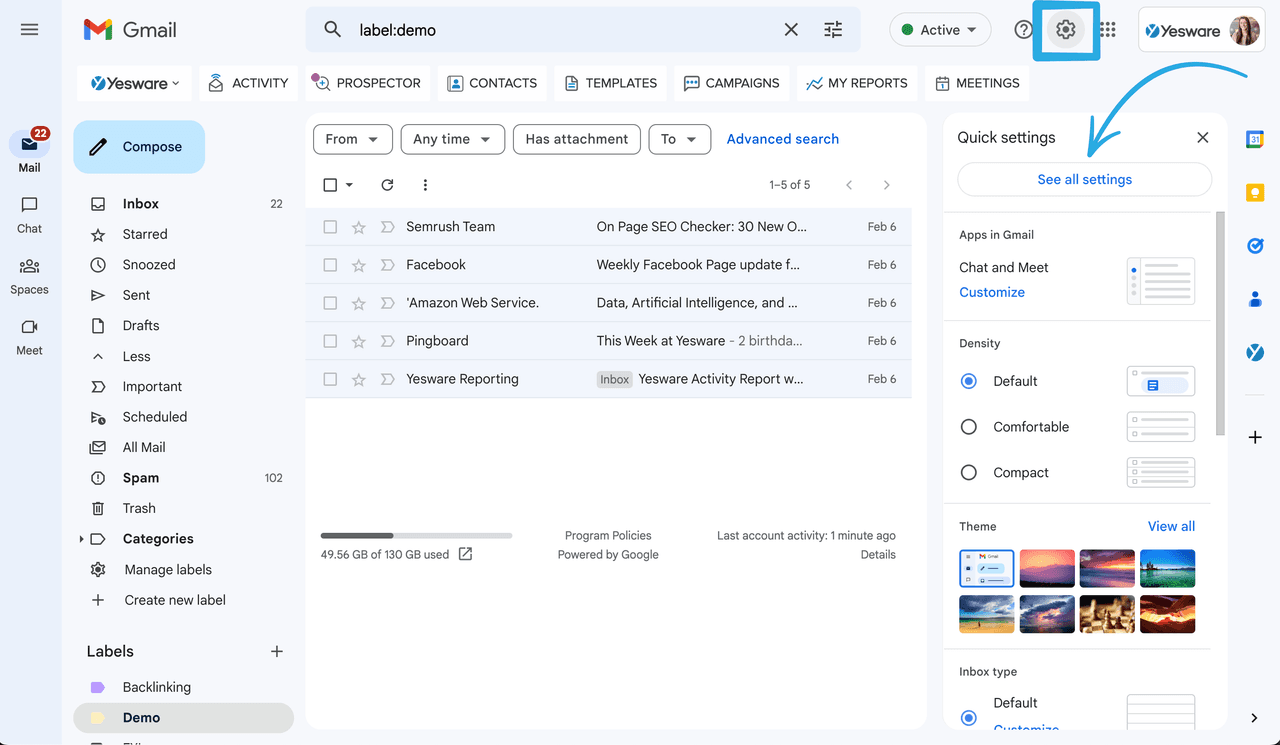
2. Select the Labels tab.

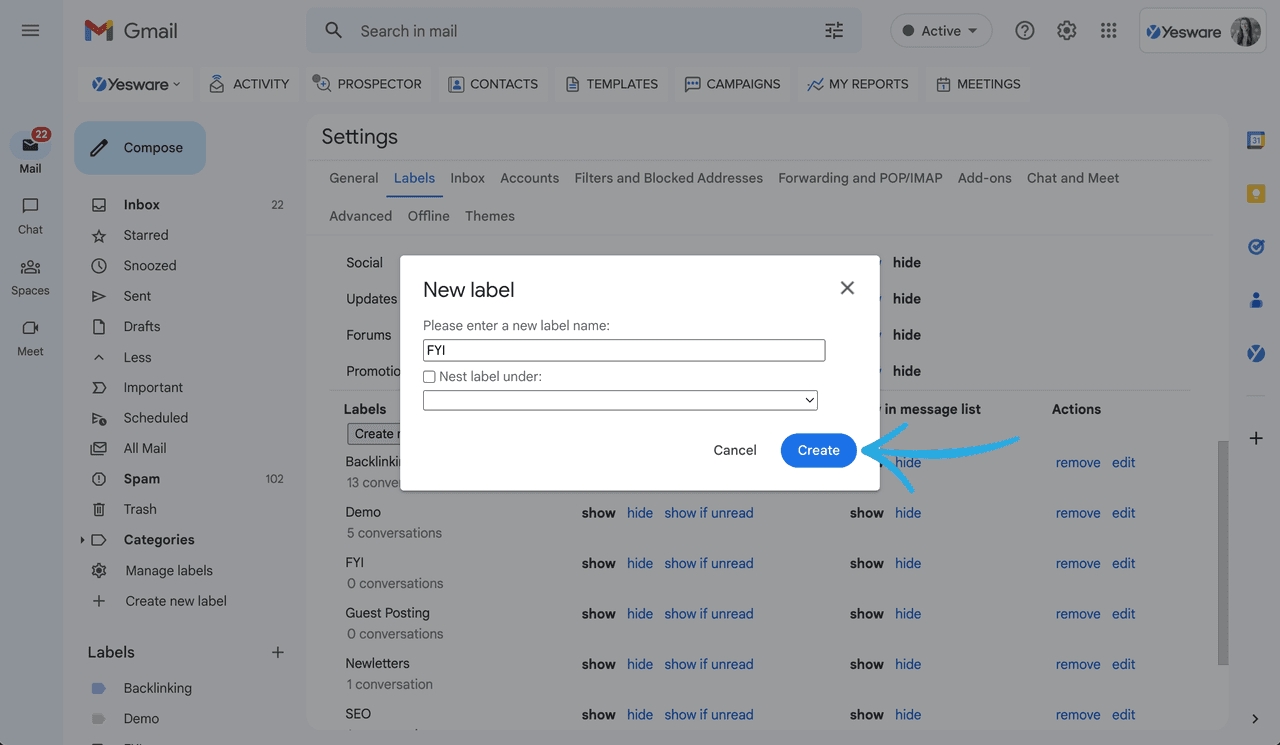
3. At the bottom of the page, click Create new label.

4. Name the label.
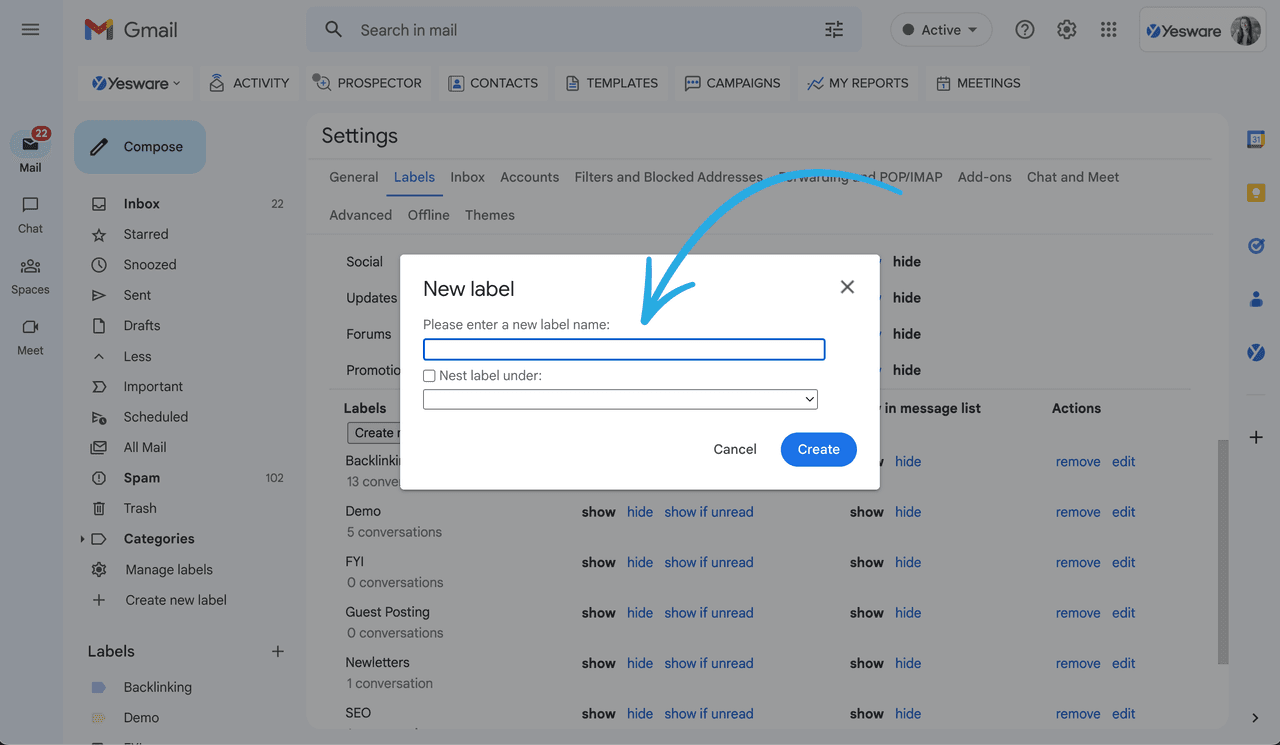
5. Click Create.
Note: You’ll also notice the option to Nest label under — where you can create new subfolders.
Let’s say, for example, you have a main folder for Google Alerts and you’d like to organize alert emails by month. You could create a label “Google Alerts” and then subfolders like “January” and “February” to nest each month underneath.
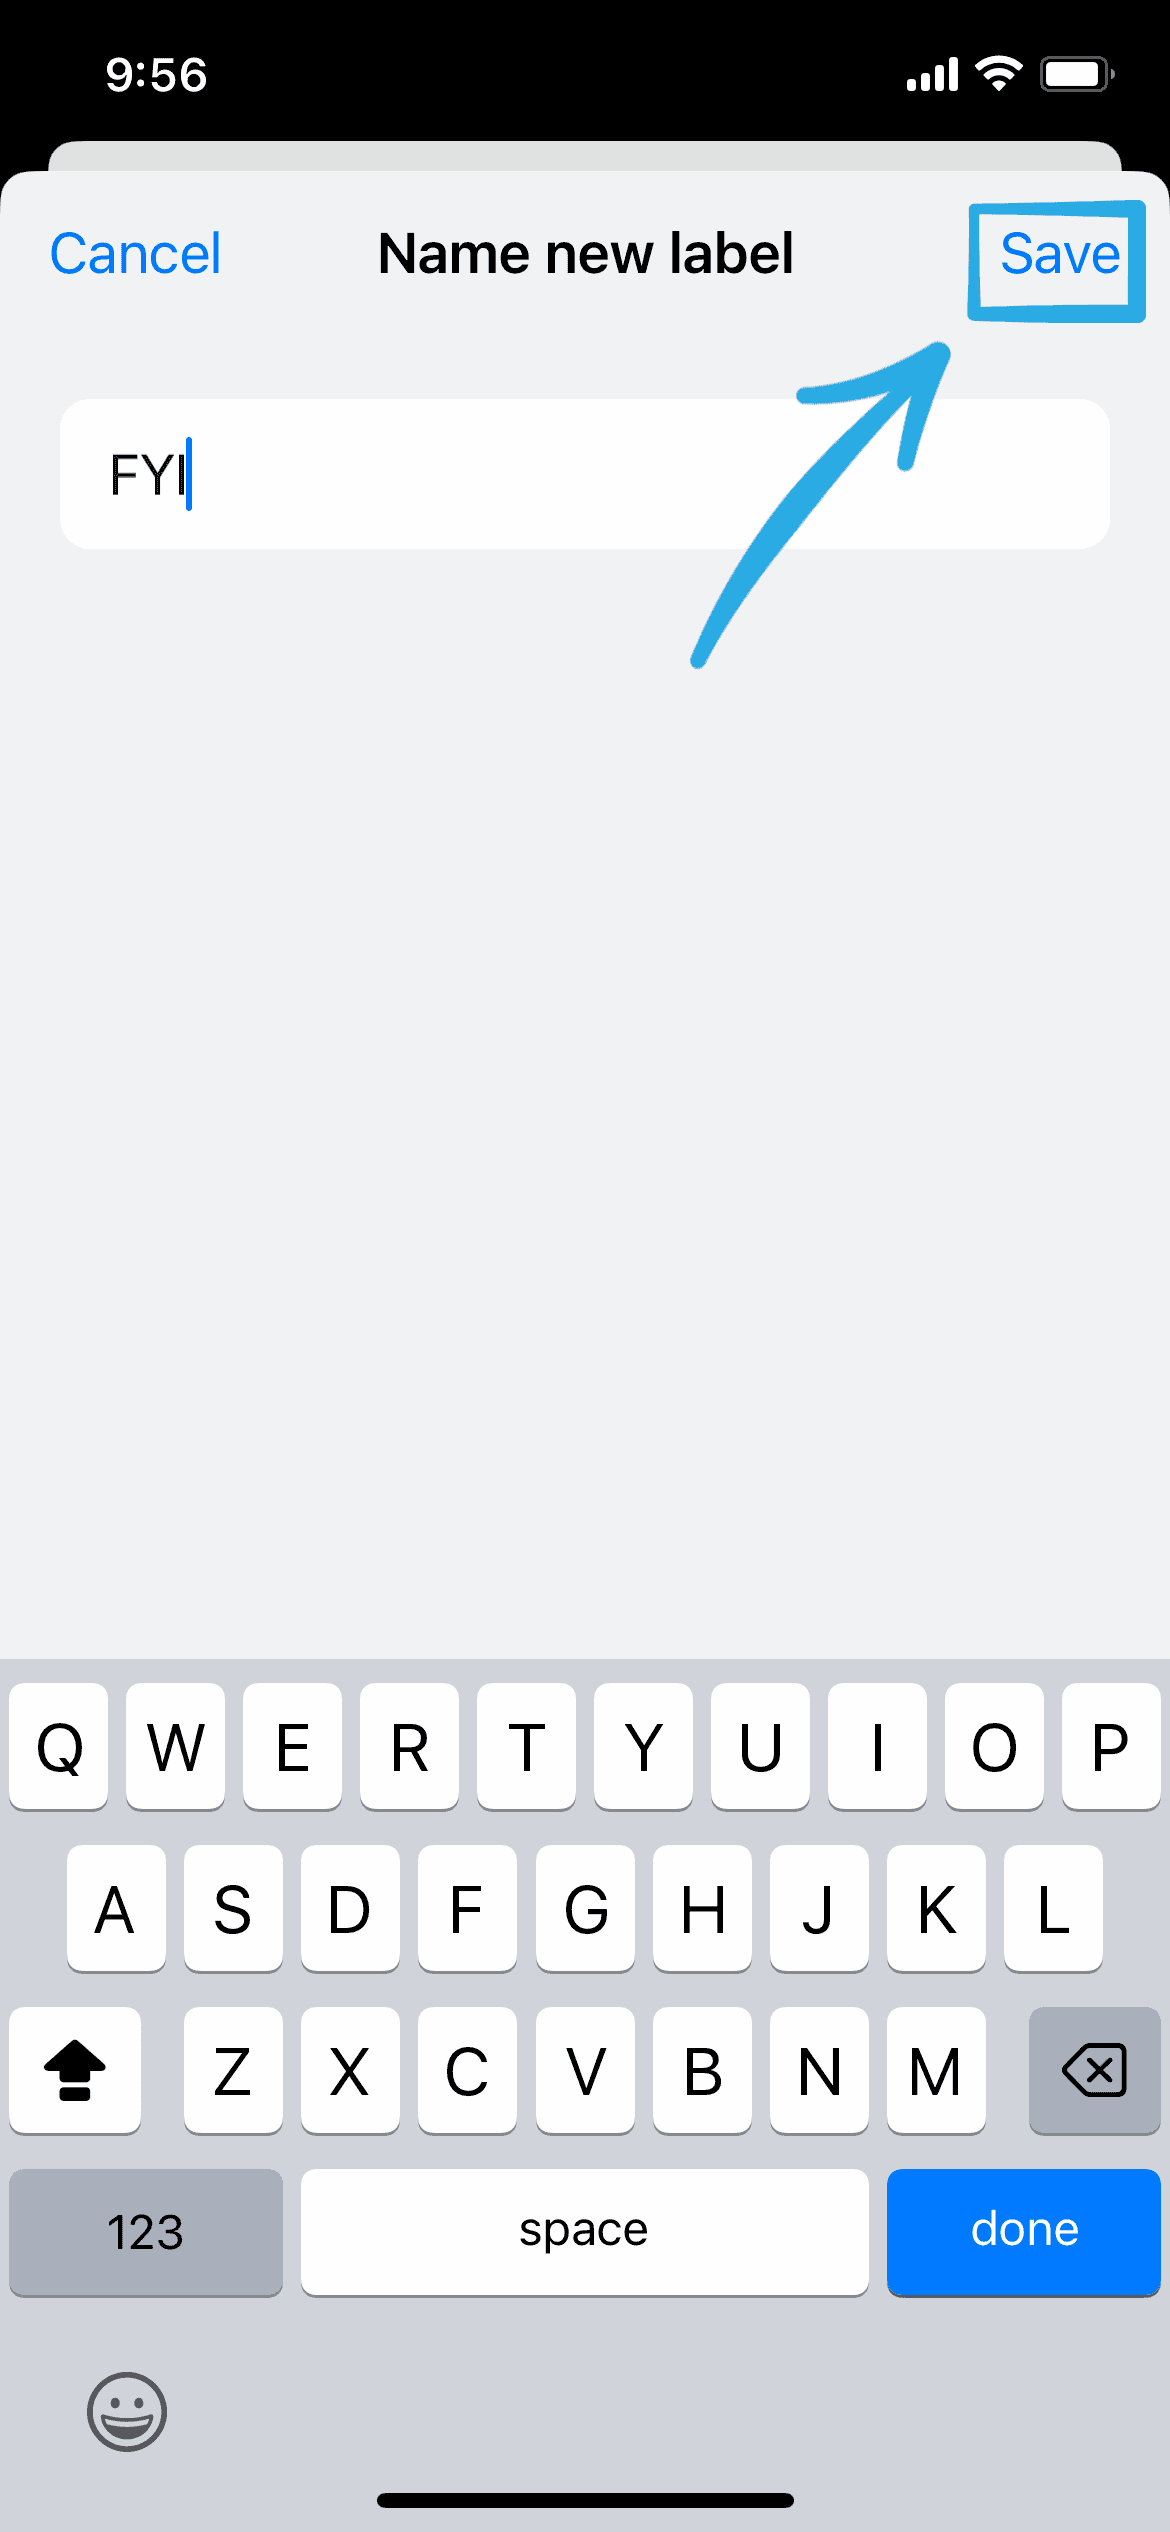
How to Create a Folder in Gmail on Mobile
Next, we walk through how to create folders in Gmail using the mobile app. All screenshots below are taken on an iPhone.
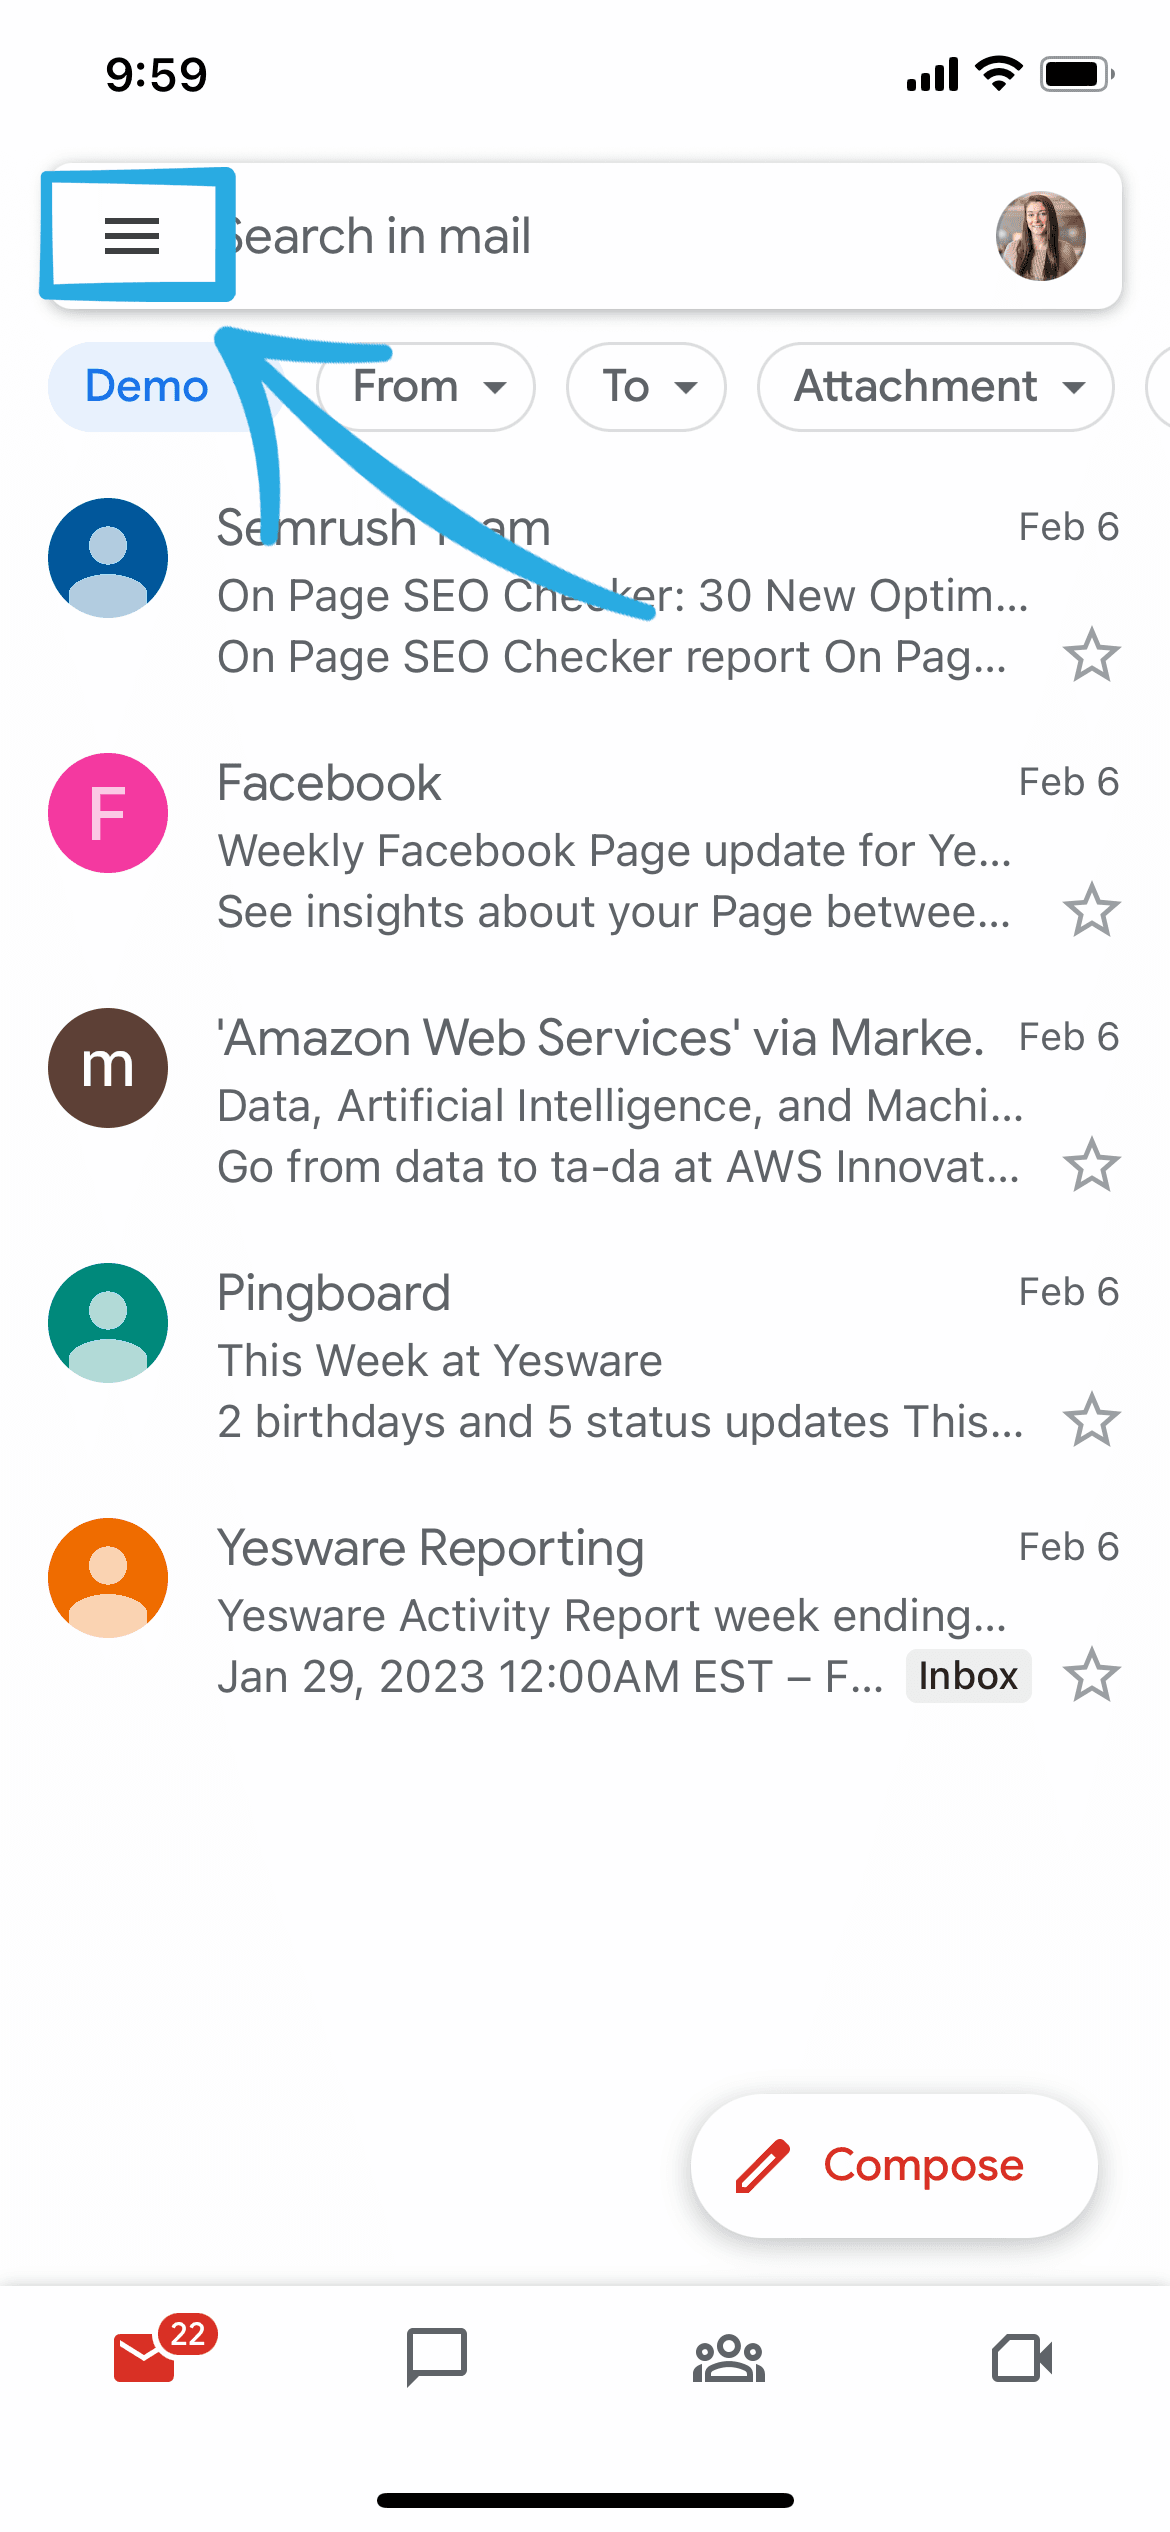
1. Open the Gmail App on your mobile device.
2. At the top left of your screen, click the menu icon (three horizontal lines).
3. Scroll down to the labels section and select Create new.
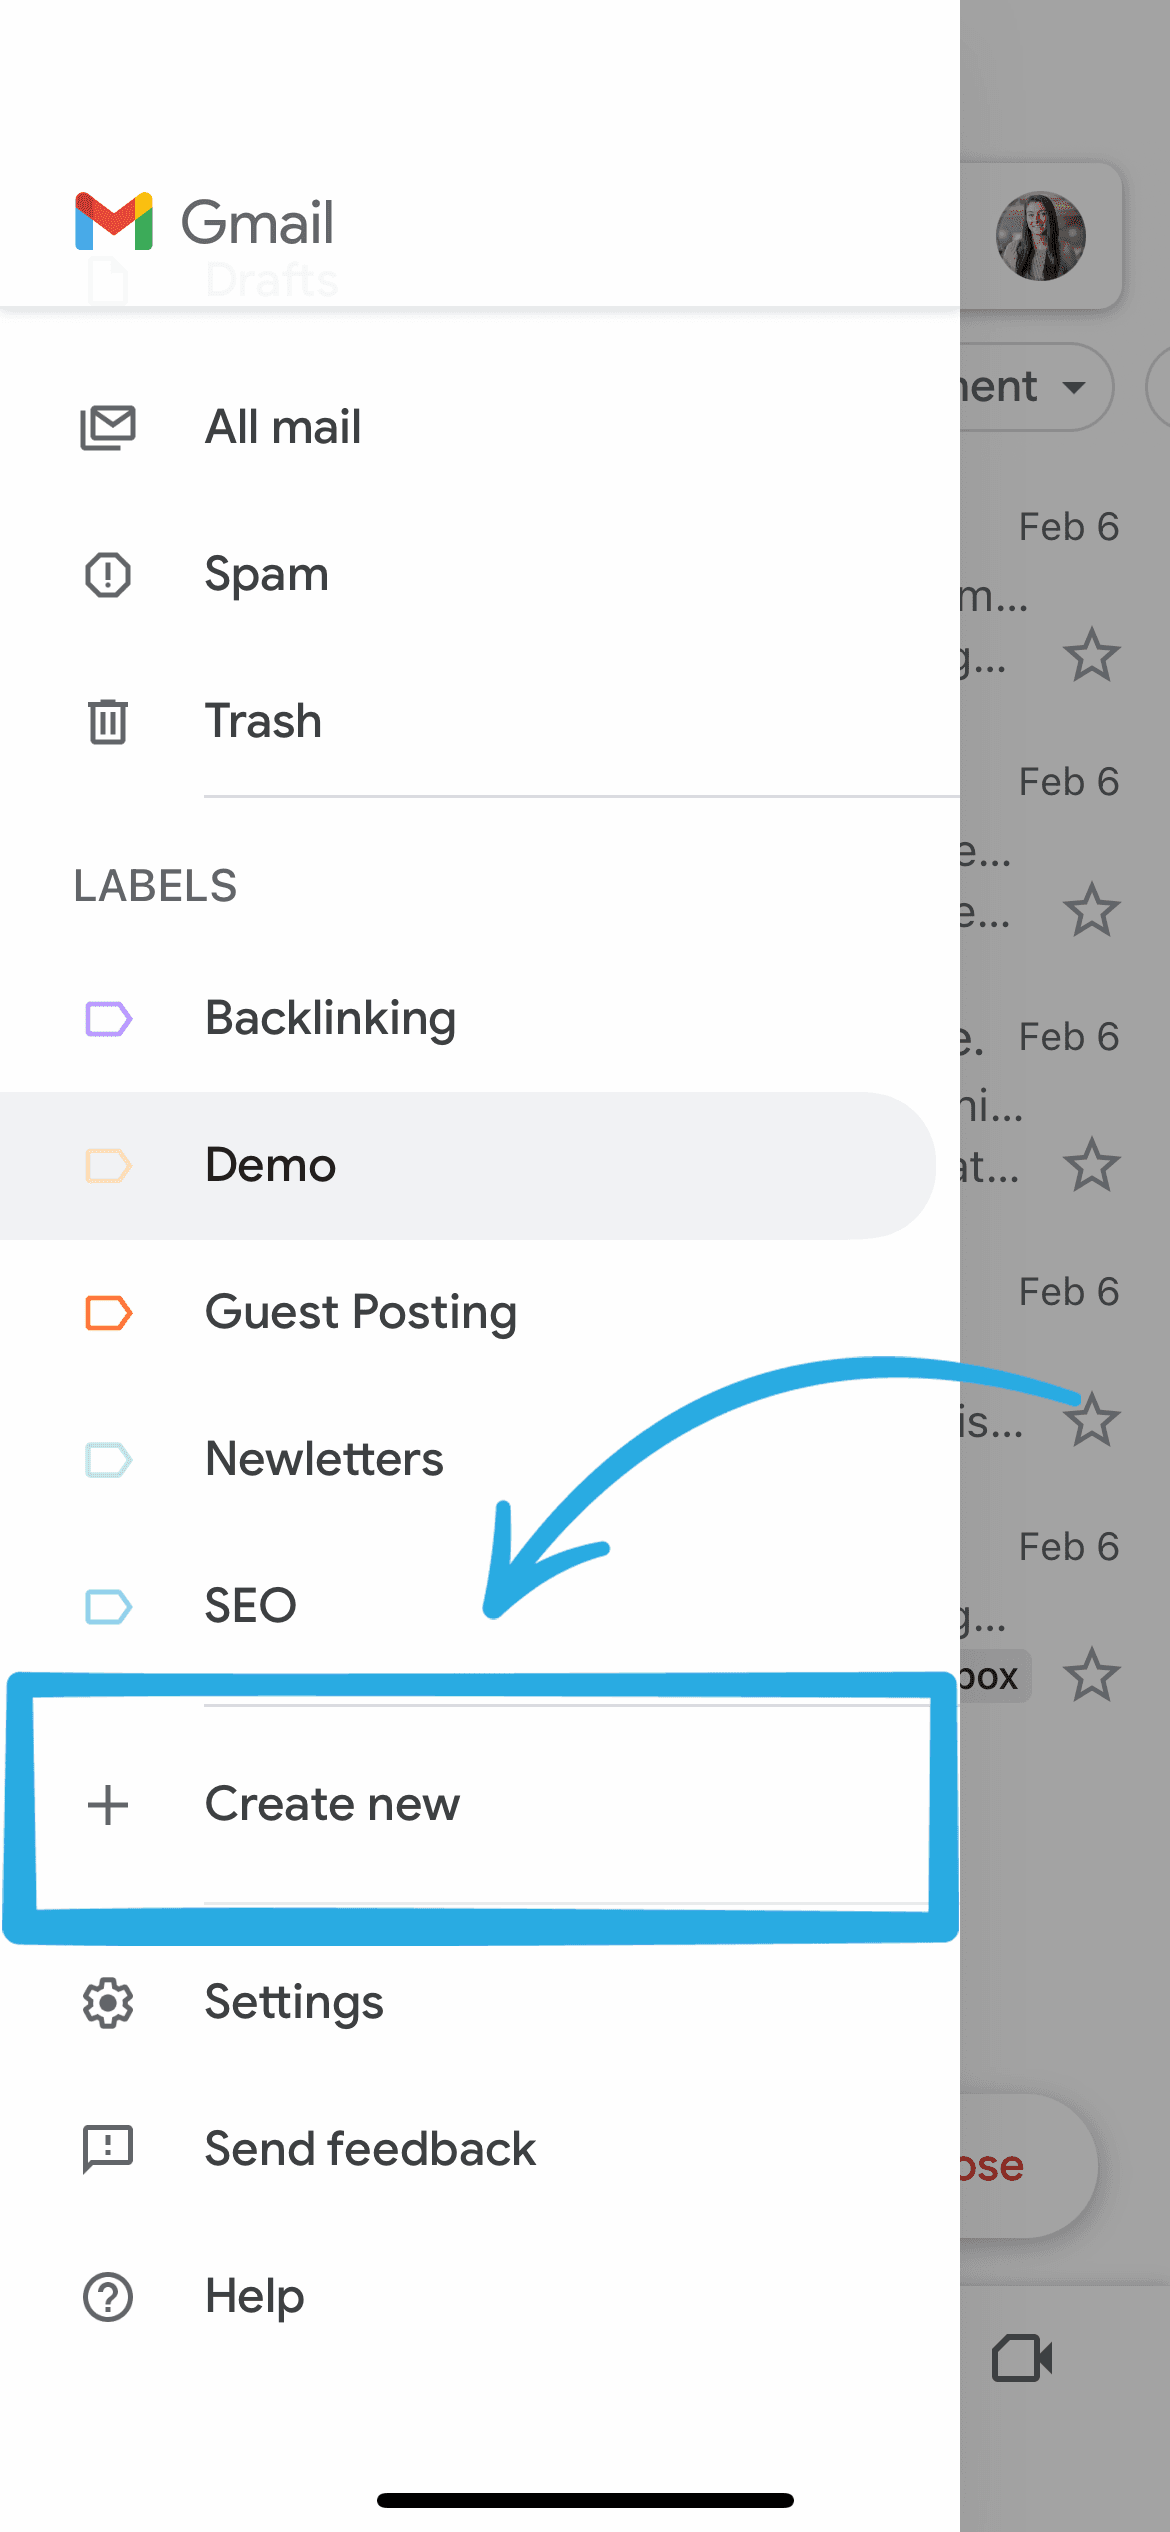
4. Name your label.
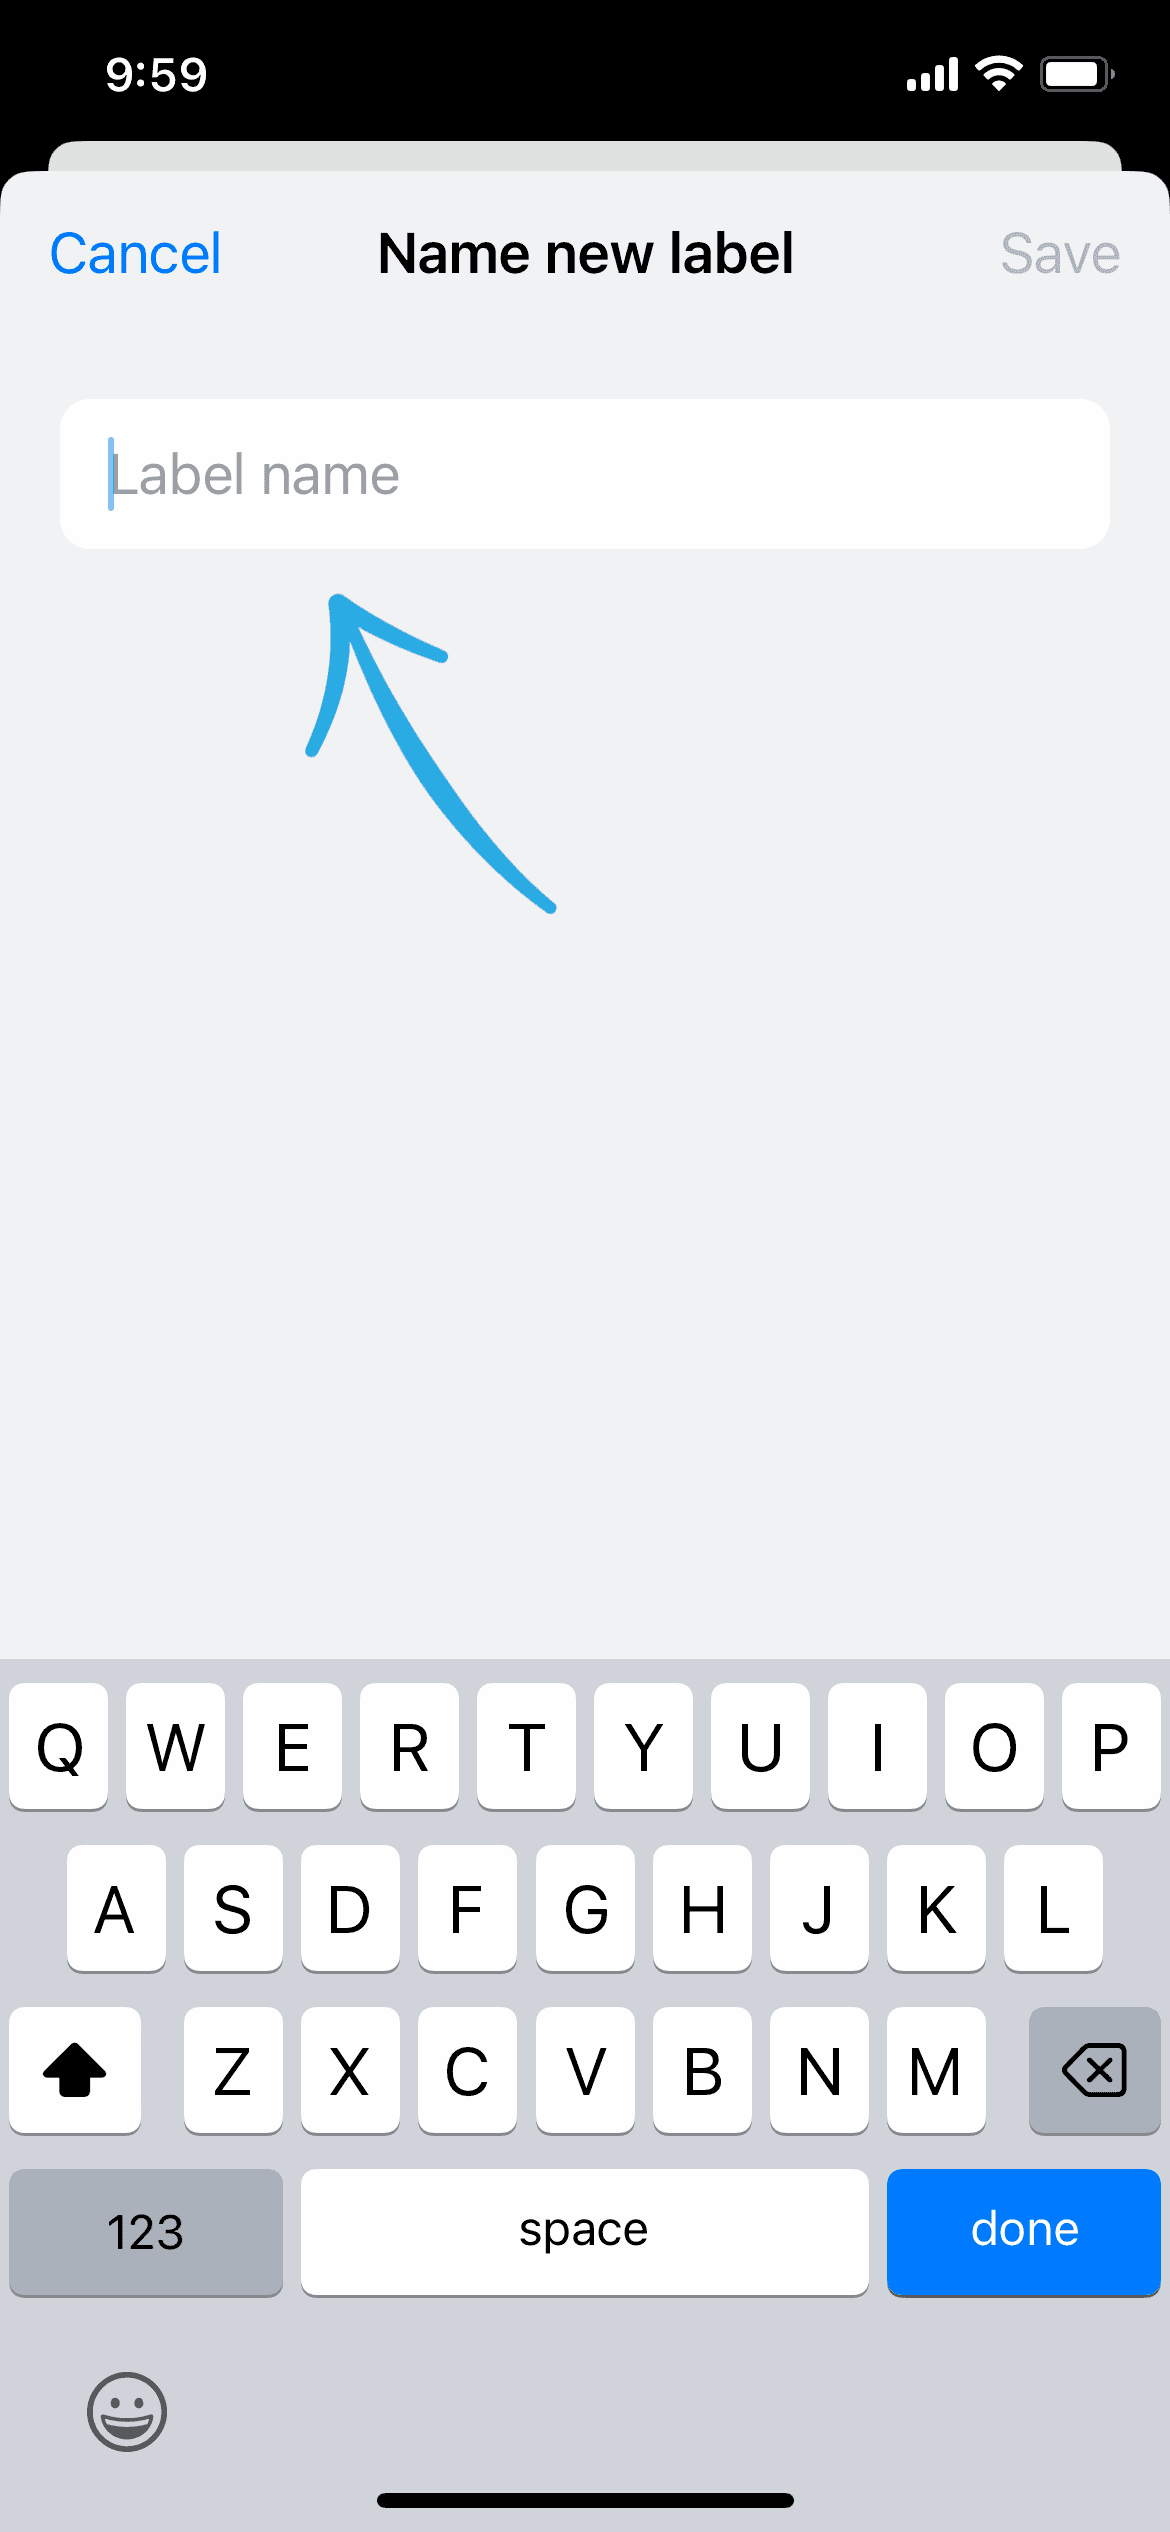
5. Click Save.
How to Edit or Delete a Label in Gmail
Gmail makes it super easy to edit, delete, and manage already-created labels.
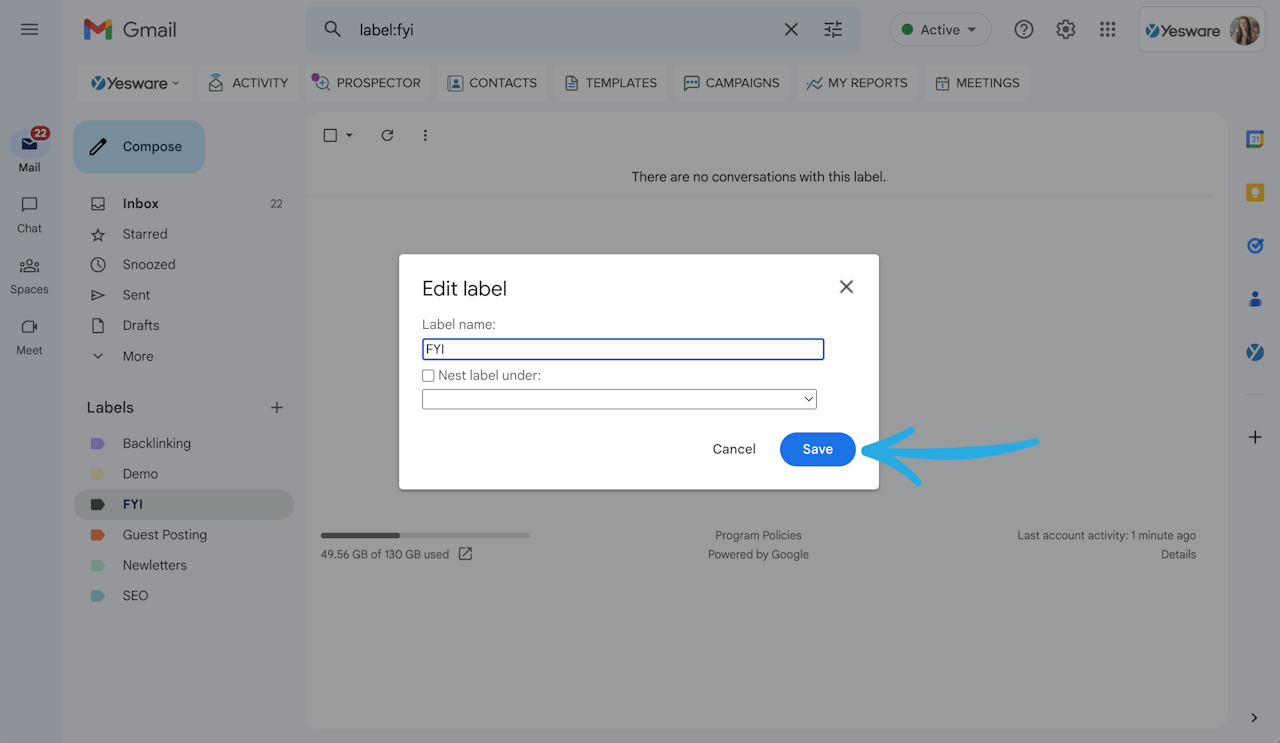
How to edit a label in Gmail:
1. Open Gmail in your browser.
2. In the sidebar, hover over a label.

3. Click the three dots and select Edit.

4. Edit your label.
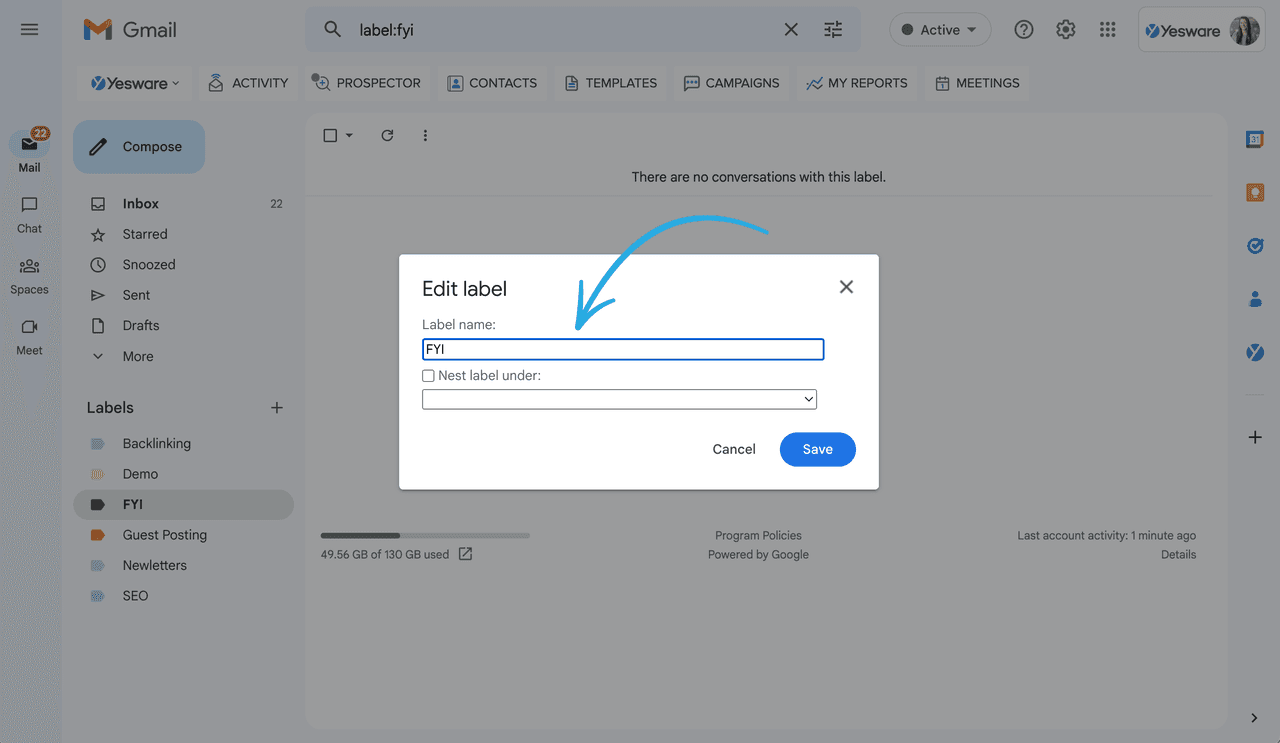
5. Click Save.
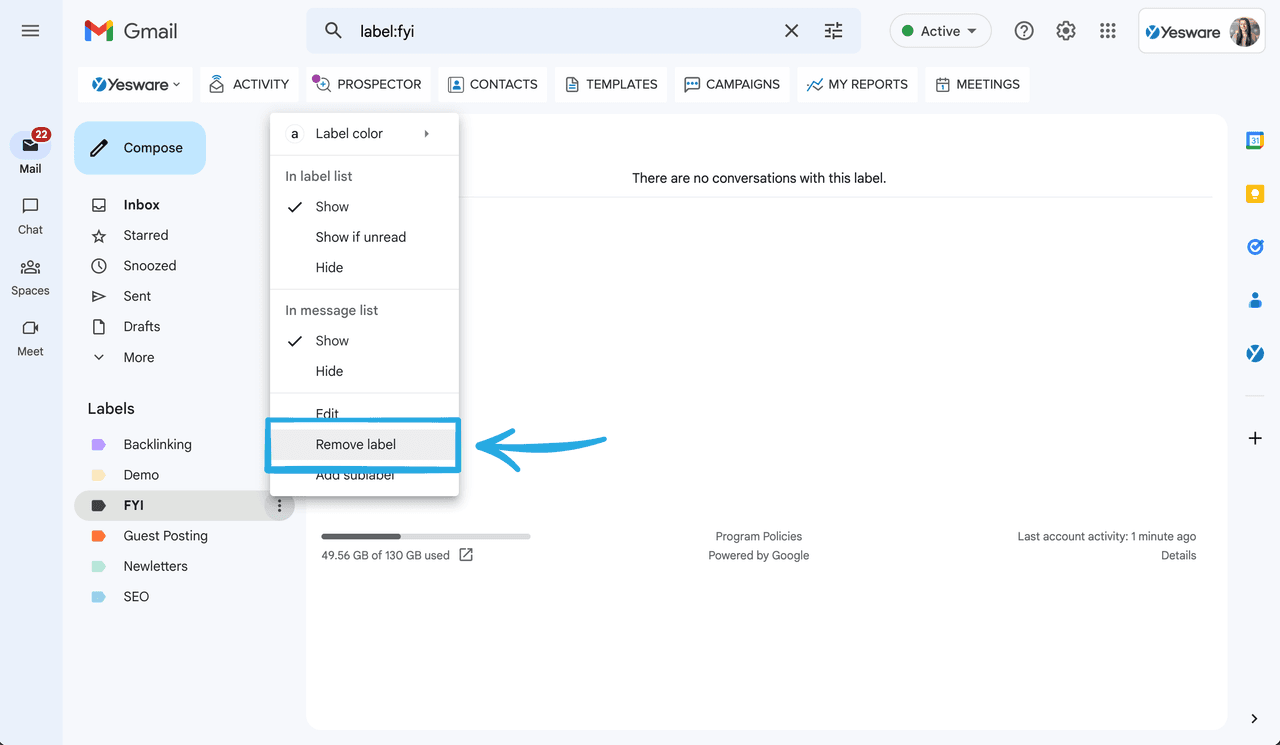
How to delete a label in Gmail:
1. Open Gmail in your browser.
2. In the sidebar, hover over a label.
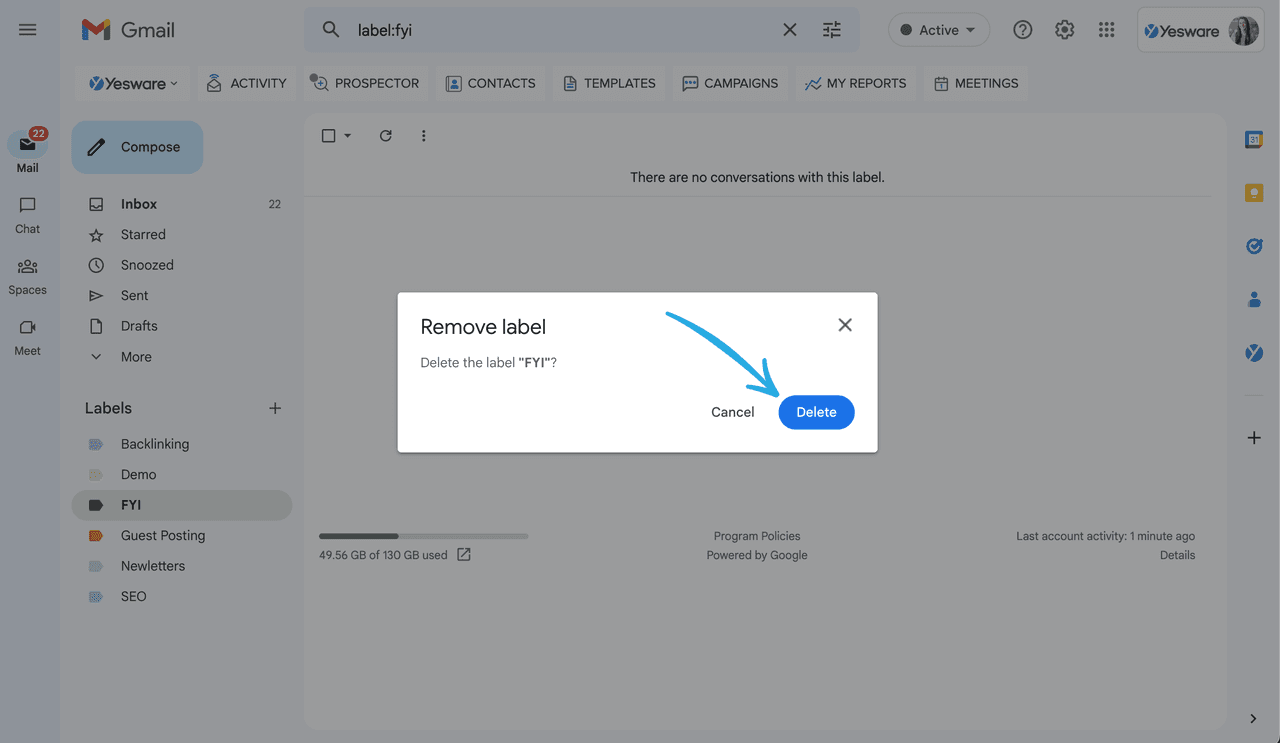
3. Click the three dots and select Remove label.
4. In the pop-up window, click Delete.
Tip: Looking to send more effective emails? Grab our free ebook below.
 18 Proven Email TemplatesWinning email templates for cold outreach, follow-ups, and nurturing relationships – backed by data and real-world examples.
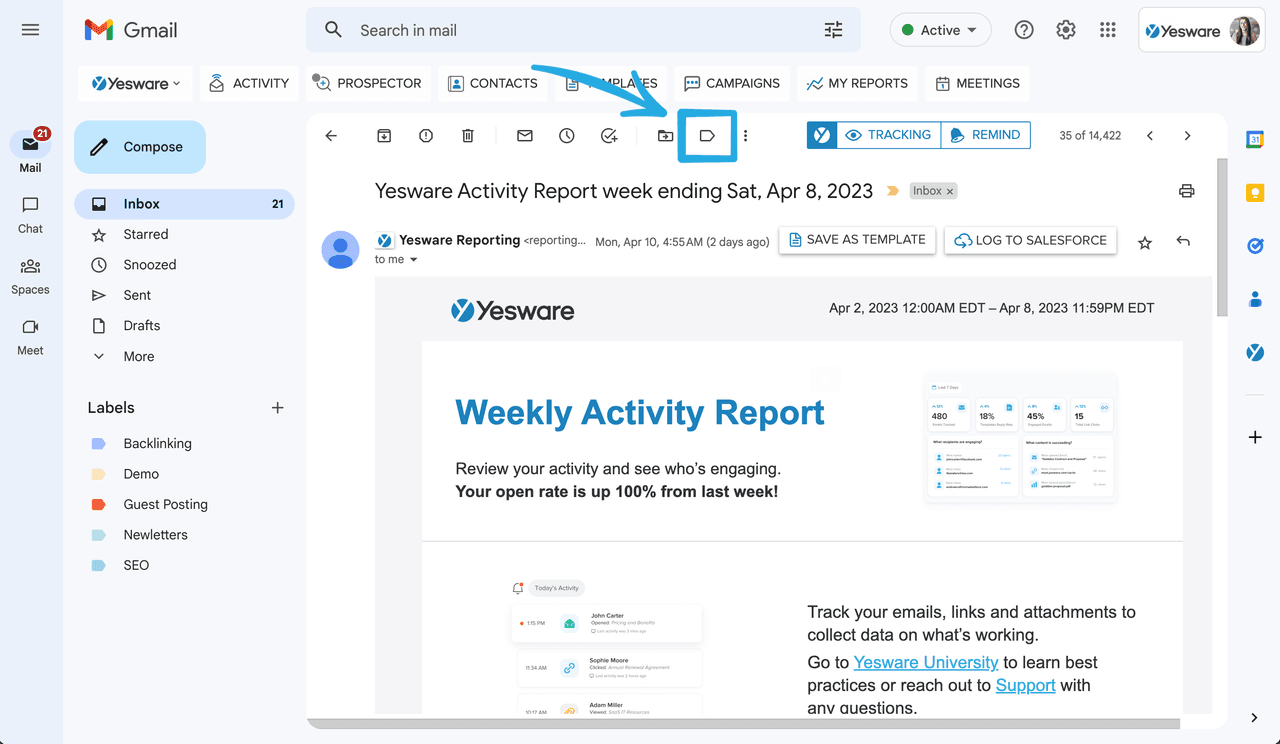
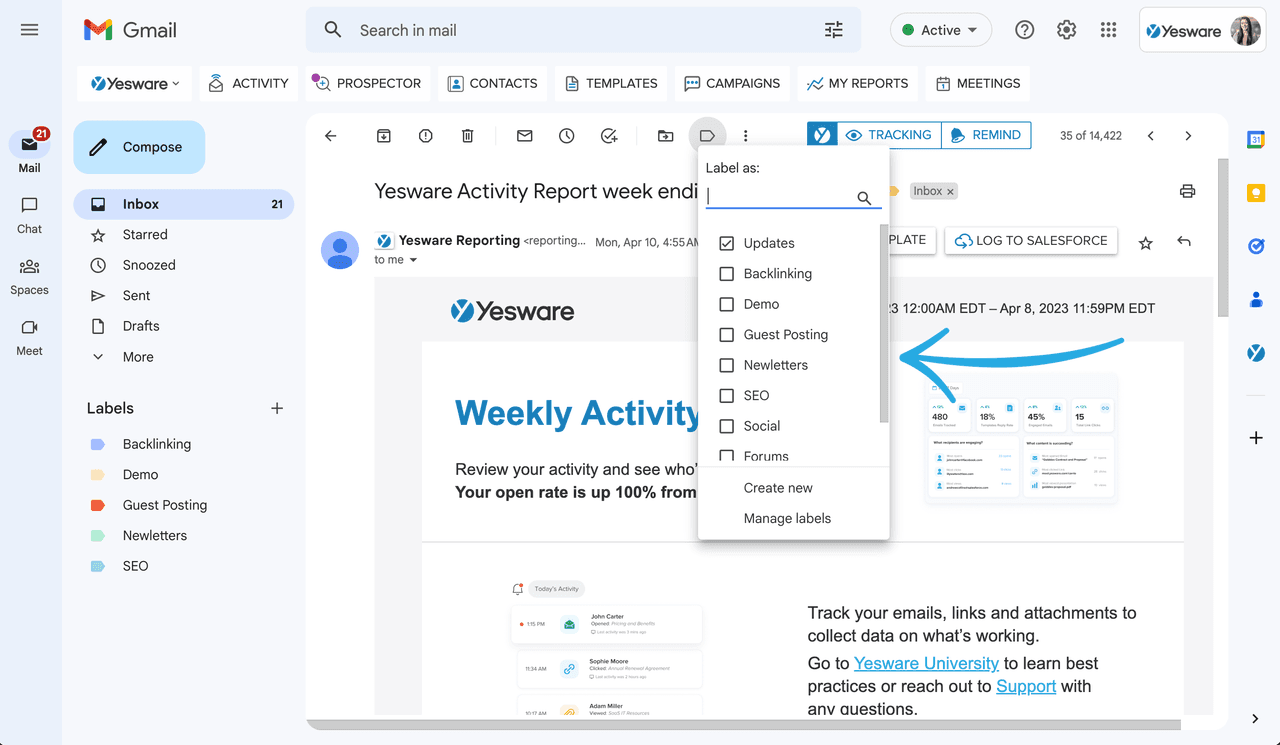
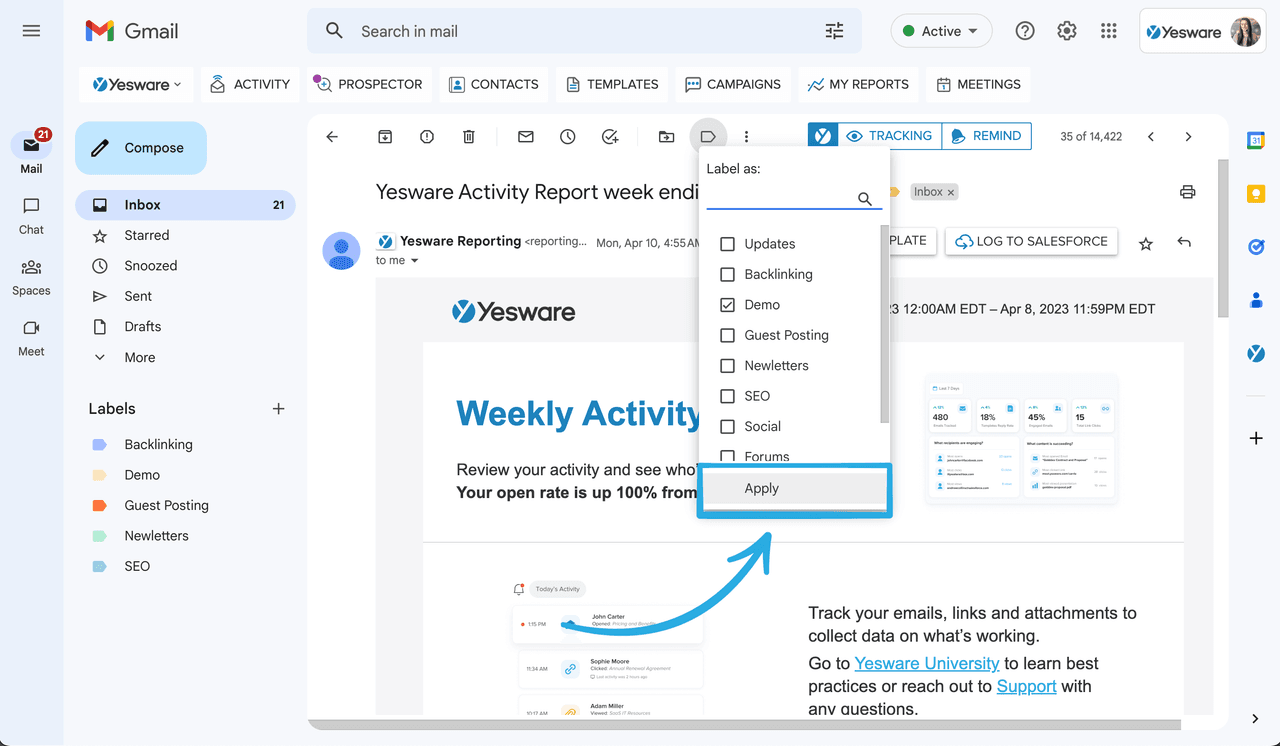
How to Label a Message in Your Inbox
Now let’s go over how to create folders in Gmail for messages already in your inbox.
1. Open Gmail in your browser.
2. Open the message.
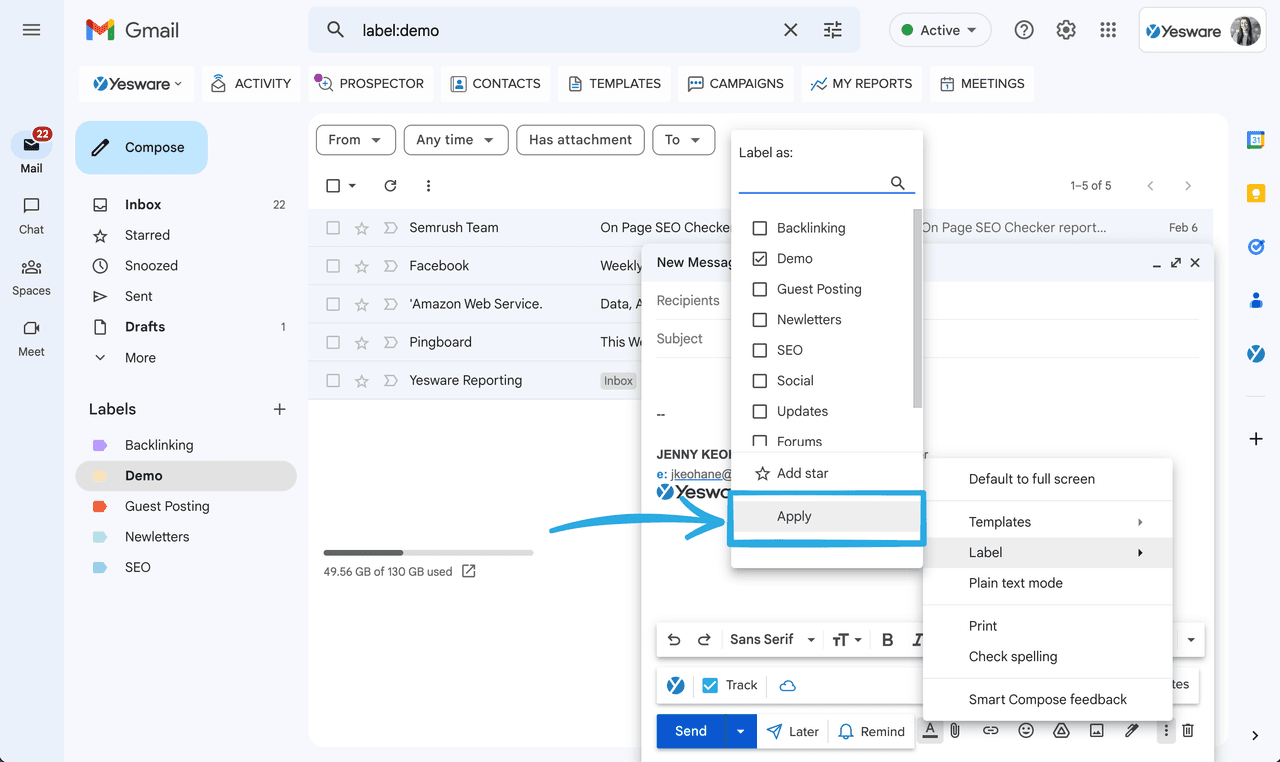
3. At the top of the message, click the Labels icon.
4. Check off each label you want to add or type a new label.
5. Click Apply.
Pro tip: Add labels to multiple messages by selecting the emails from your inbox view and then clicking the Label button.
Want your emails to be even more effective? Email tracking will notify you when a recipient reads your emails, clicks on links, and views attachments.
How to Label a Message You’re Writing
This trick comes in handy when you’re sending outgoing messages that you want to be labeled.
1. Open Gmail in your browser.
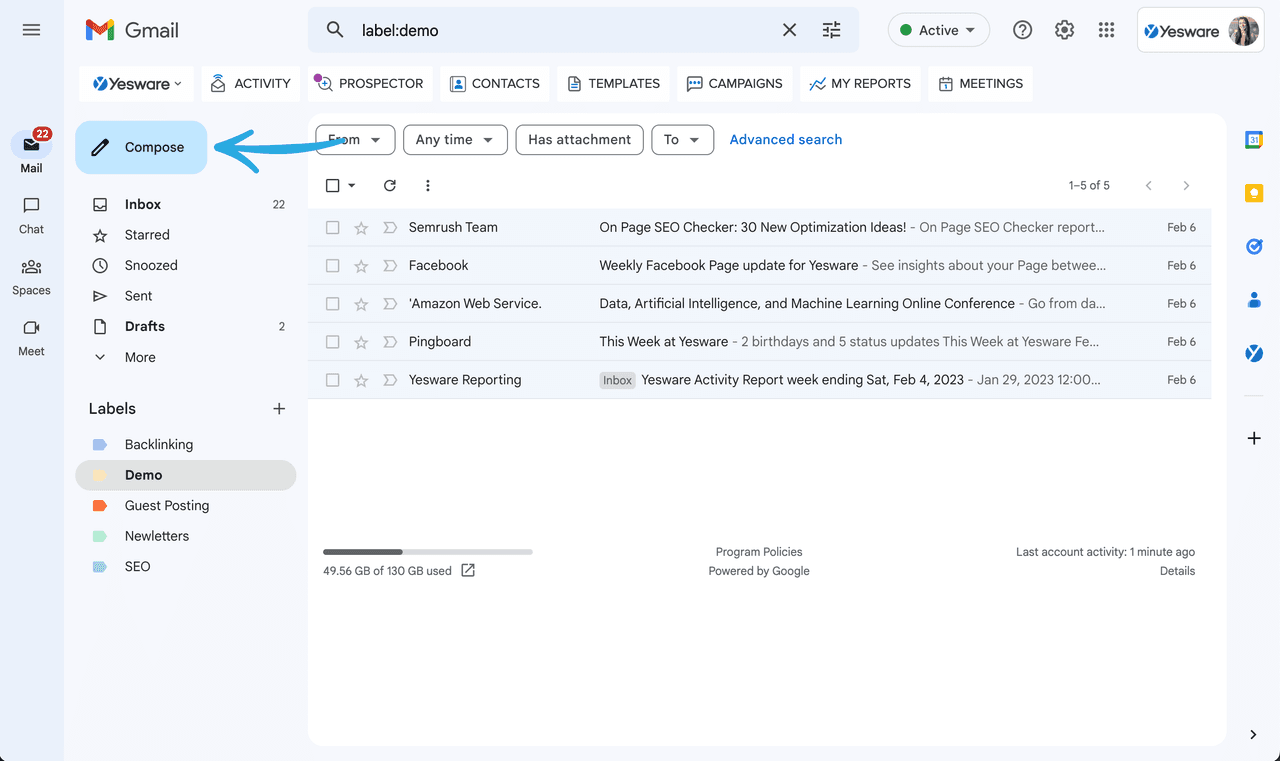
2. Click Compose.
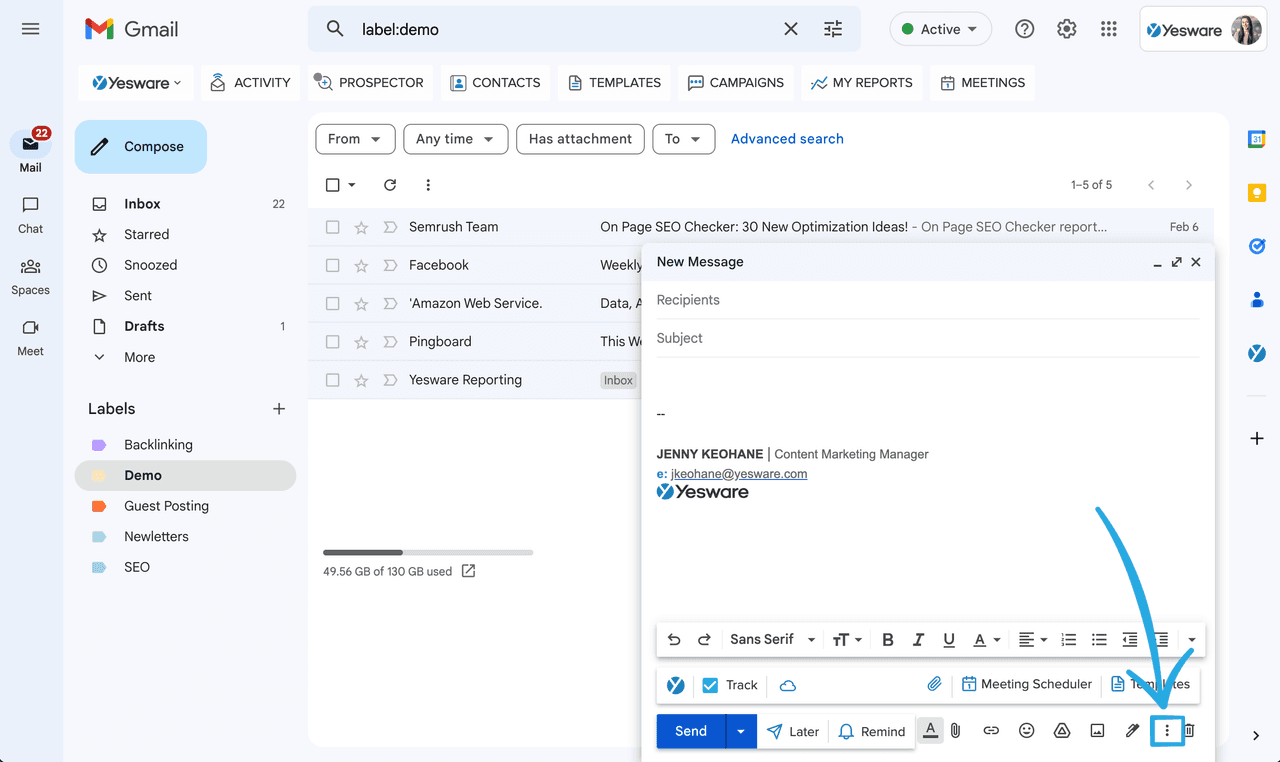
3. In the bottom right of the compose window, click the three vertical dots (More options).
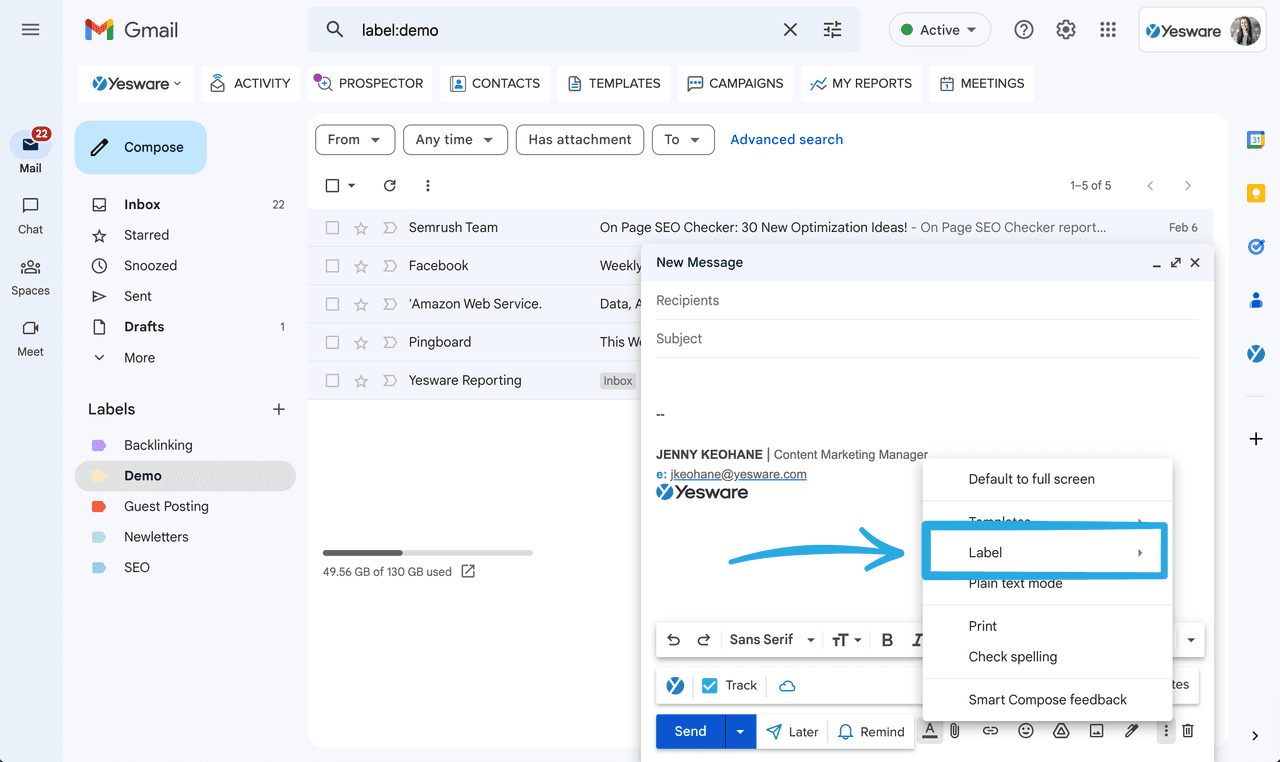
4. Click Label.
5. Check off each label you want to add or type a new label.
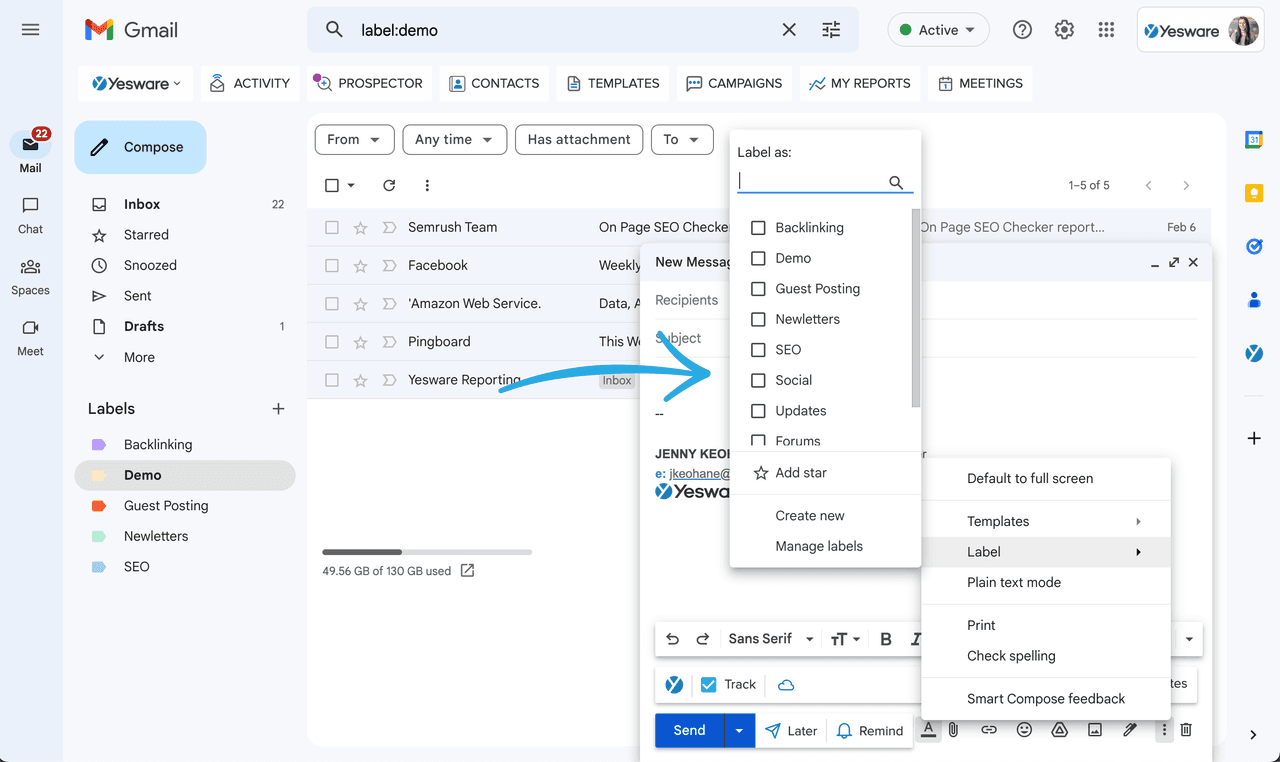
6. Click Apply.
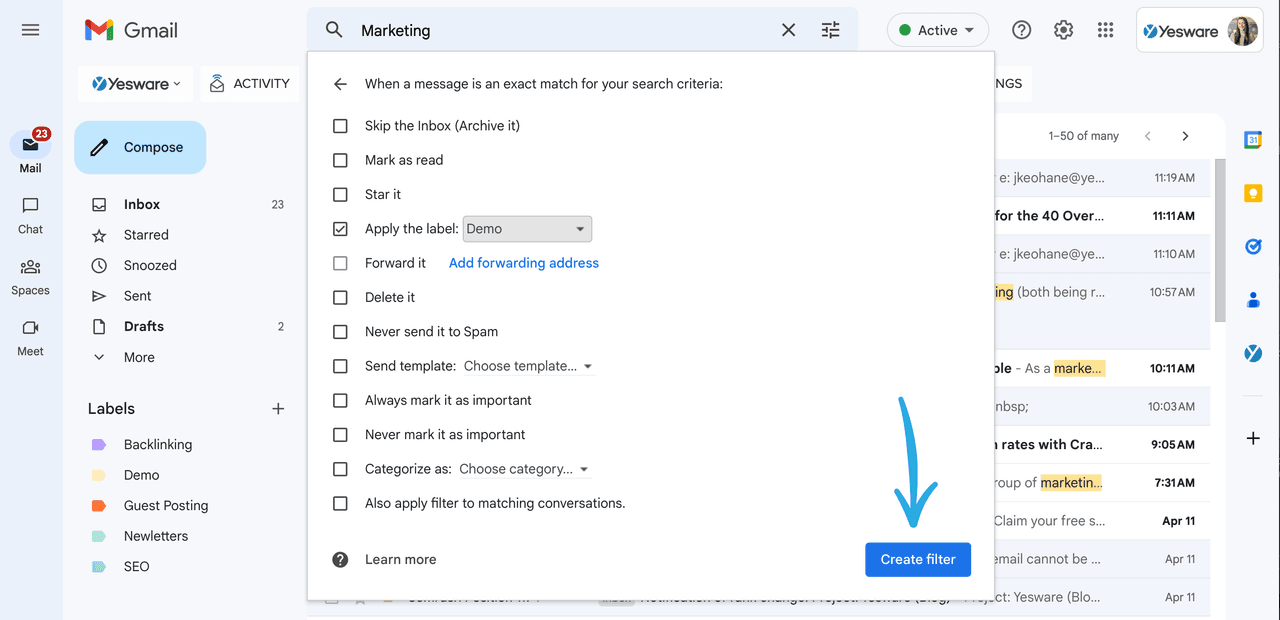
How to Automatically Label an Email Based on Search Criteria
This part’s awesome.
If you want to know how to create folders in Gmail but don’t want to do the work each time, this is for you.
1. Open Gmail in your browser.
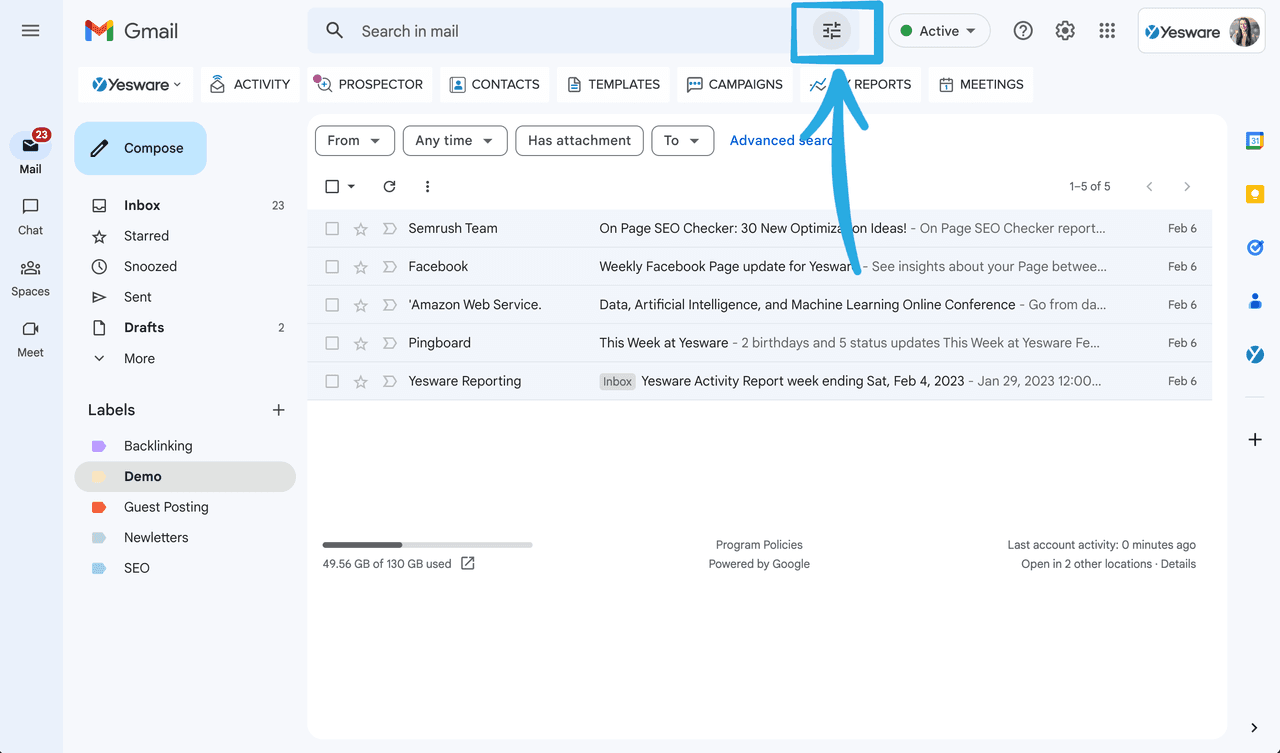
2. In the search bar at the top of your inbox, click the gear icon (Show search options).
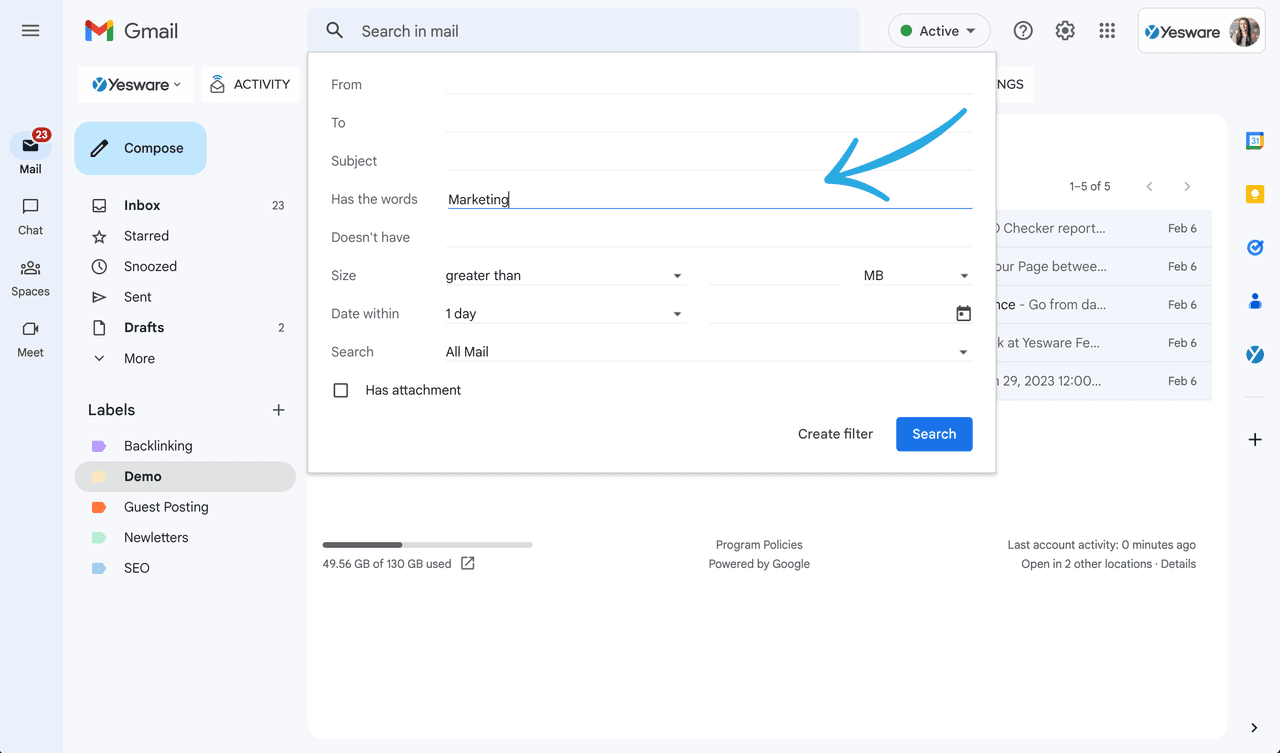
3. Determine your criteria.
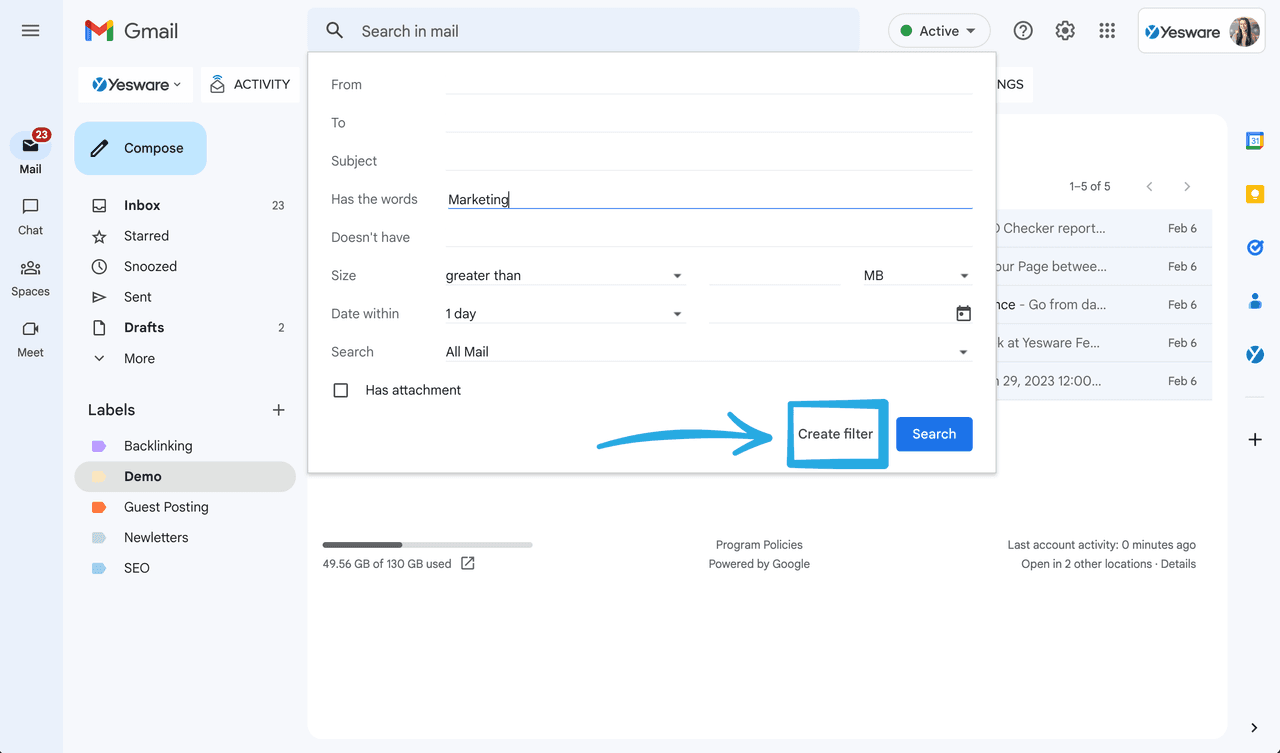
4. At the bottom right corner of the search window, click Create filter.
5. Check off Apply the label and choose which label in the drop-down.

6. Click Create filter.
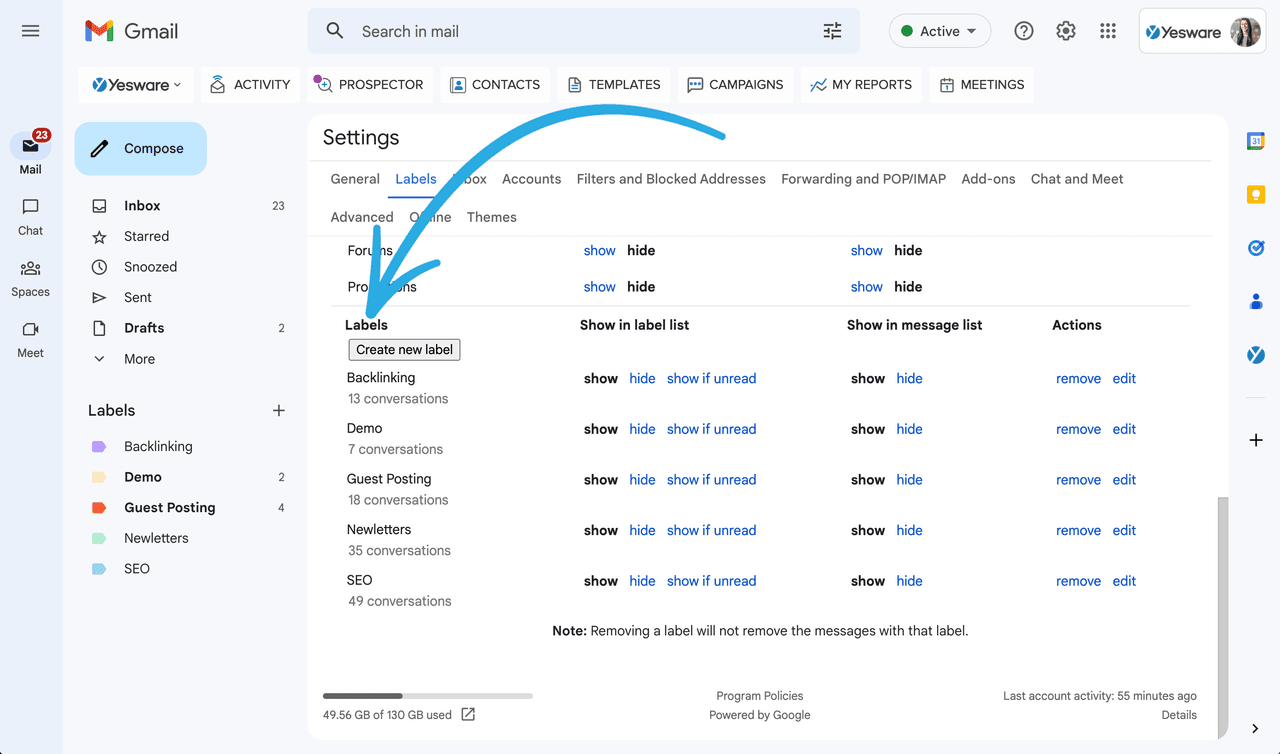
How to Manage Your Gmail Labels With Ease
Once you create labels, you may need to tweak them.
Whether you need to rename a label, hide one that you don’t want to delete or remove a label altogether, there’s a simple solution for that within the Labels tab of Settings.
You can get there by clicking More on the left side of your inbox and then Manage Labels.
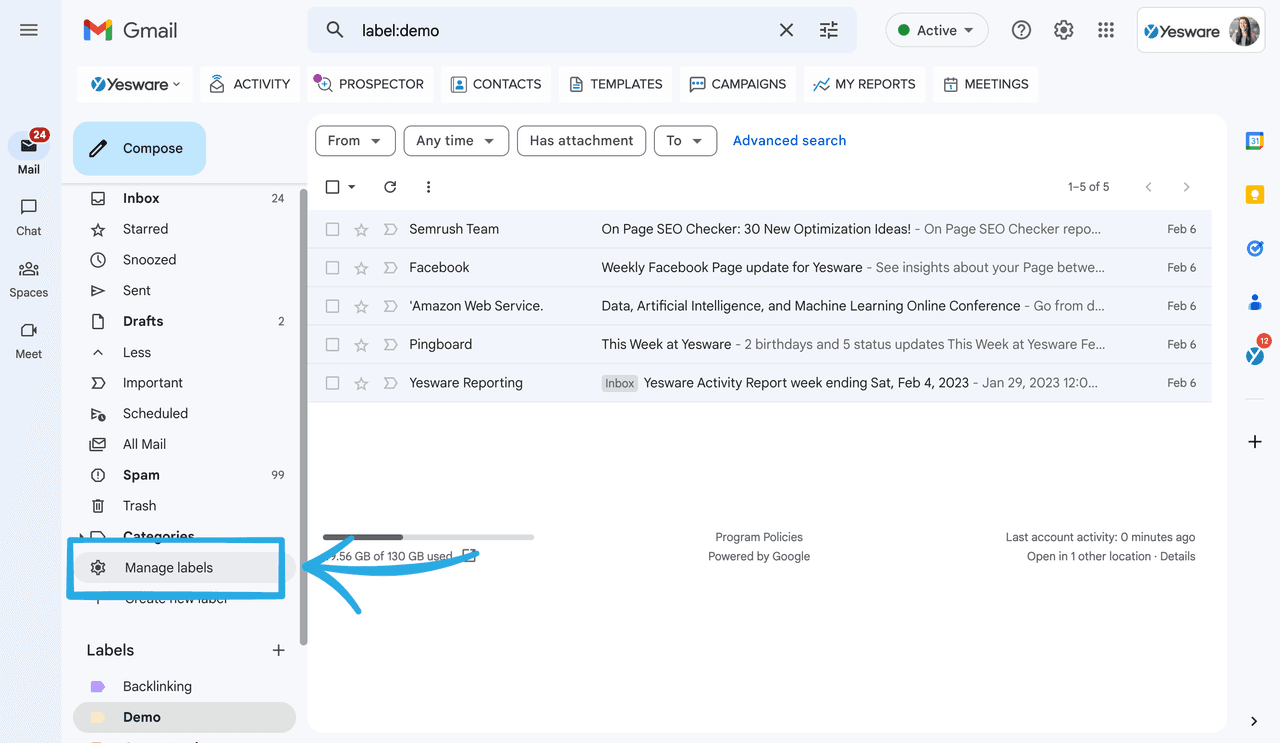
Or, through Setting then Labels (as shown above).
From this screen, you’ll see your labels (and sub-labels) listed with the option to show or hide them in the label list or message list. You can also remove or edit your labels here.
5 Folder Ideas to Keep Your Inbox Up-To-Date
Your email habits say a lot about you.
Whether you’re a “zero inbox” type or totally unbothered by emails piling, you still need a way to keep organized.
Once you know how to create folders in Gmail, you can take it a step further and set up your labels for all future emails so you don’t need to worry about it down the road.
Here are 5 folders you can use to make your inbox a simple to-do list:
- Inbox: Unless you respond immediately and are waiting for an immediate response, there should be no emails here.
- Today: Time-sensitive. Requires a quick response.
- This week: Needs to stay top of mind by the end of the week.
- This month: Needs a longer-term response.
- FYI: An email that you may need to reference later. Purely informational.
Pro tip: Set a reminder email for Friday to respond to emails in the “This Week” inbox.
However, the way you organize your emails depends on what is most helpful for you.
After all, it’s your inbox.
Get started by listing out a few categories that your messages might fall into and start there. Remember, you can always delete or change labels if the methods aren’t working.
Bonus: How to Create Folders for Future Emails
What if I told you that you could set up folders for future emails that would save you time writing and searching for old emails?
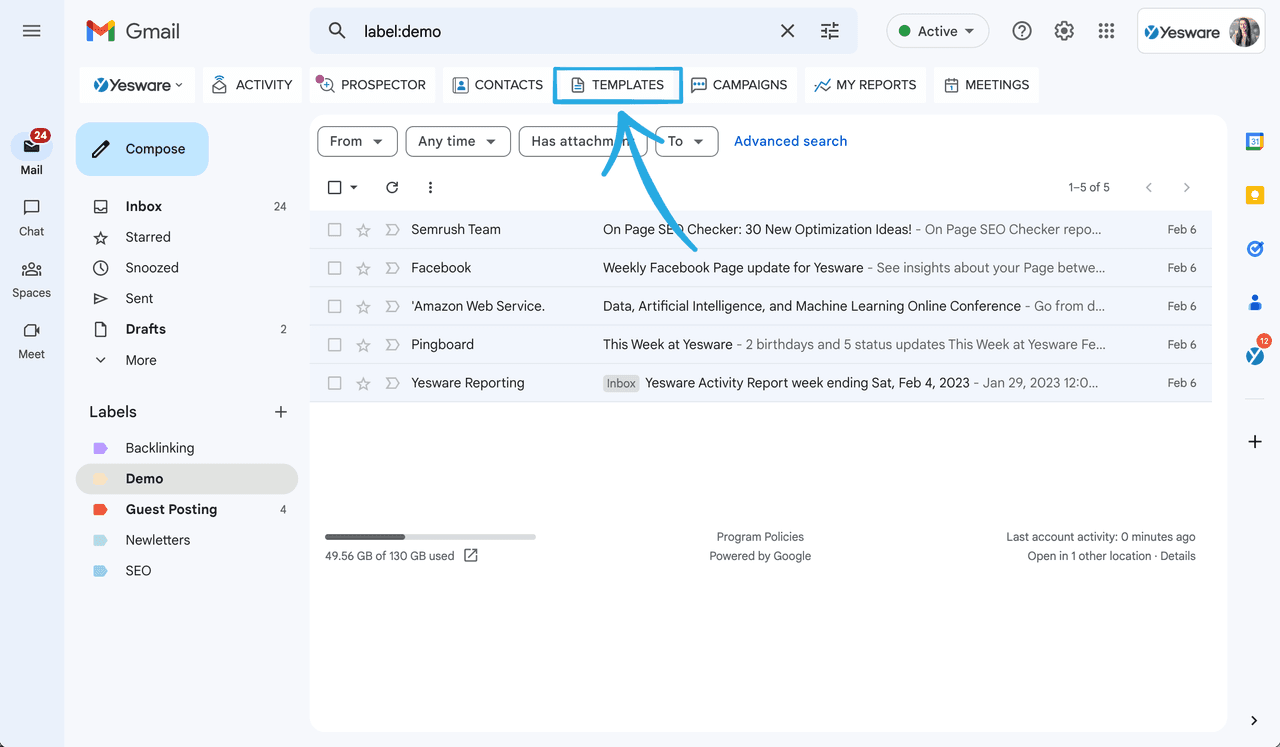
That’s why we created a tool that does it for you. It’s called Templates, and it appears as a button in your inbox.
You’ll then have access to all your ready-to-use templates as well as engagement data (open rate and reply rate) to help you identify which messaging is most effective.
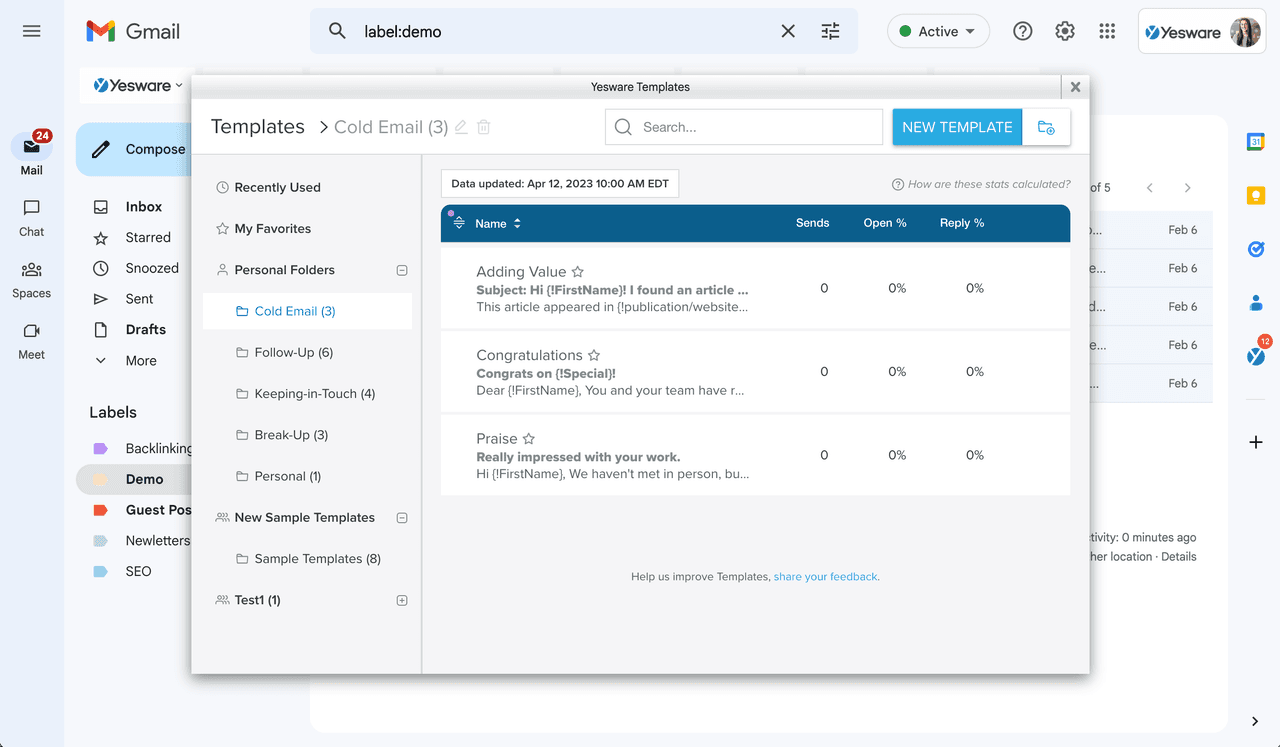
The end picture: Your future emails are already written for you — they wait for you to add custom info and press “send.”
Here are some benefits of having a template library:
- Quick, easy organization: Categorize your messaging (cold emails, follow-up, break up, etc.) for fast reference.
- Pre-filled messaging: The information you keep typing is already there for you, with placeholders for the info that changes. What it means for you? Less mistakes, more time saved. It’s a win-win.
Here’s how you can get started with templates:
- Get Yesware in your inbox (completely free, 60-second setup).
- Click on the Templates module.
- Create and save templates (or steal free ones from our blog — Bookmark this page for later).
This guide was updated on April 12, 2023.
Get sales tips and strategies delivered straight to your inbox.
Yesware will help you generate more sales right from your inbox. Try our Outlook add-on or Gmail Chrome extension for free, forever!
Related Articles

Jenny Keohane
Jenny Keohane

Jenny Keohane
Sales, deal management, and communication tips for your inbox